Mastering Power Apps: Form Design, Validation & UX Best Practices!
Overview:
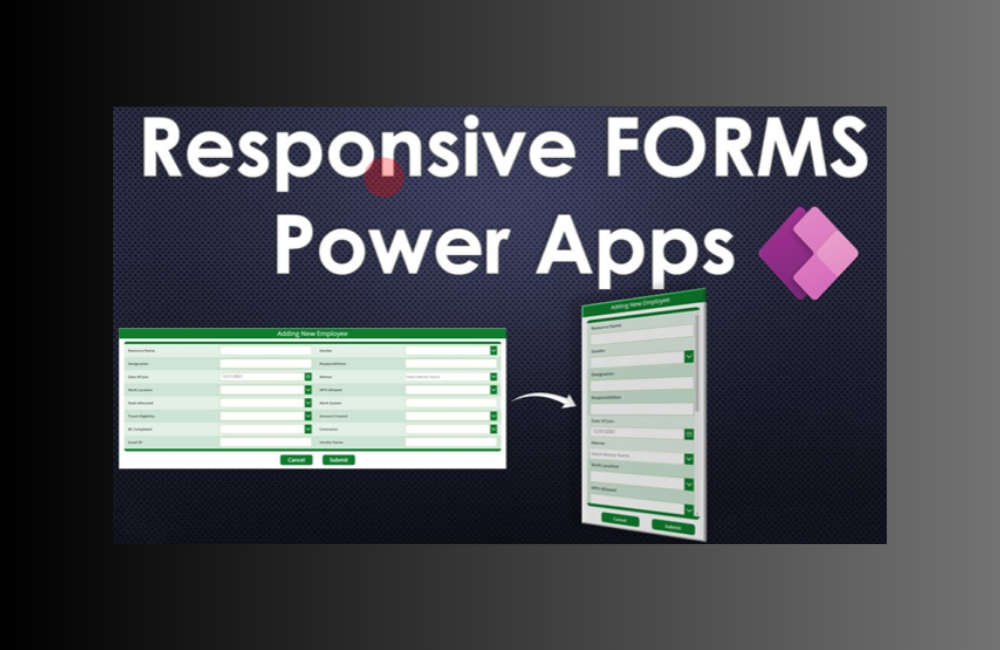
This blog post delves deep into mastering the various aspects of form design in Power Apps, encompassing areas like form validation, user experience best practices, and responsive design. By reading, readers will understand how to ensure correct text input values, effective data validation, strategies for providing user feedback, and implementing error handling. The article also touches upon the importance of responsive design, managing user permissions, and the best practices for managing Power Apps form modes.
Ensuring Correct Text Input Values
Sometimes, you want to make sure that users only input numbers in a text field. To do this, you can change the default “Format” property of the text input to “Number.” This prevents users from entering anything other than numeric characters. Additionally, you should set the “MaxLength” property to match the maximum character limit allowed for that field.
You can do this step Format property of a text input
					// Set Format property of a text input to Number
Format.Number
// Set MaxLength property of a text input for "Project Name"
DataSourceInfo(Projects, DataSourceInfo.MaxLength, "Project Name")
Validating Form Data
Data validation is essential to ensure that a form is filled out correctly before it’s submitted. This involves checking if:
- Required fields are not left blank.
- Data formatting for items like phone numbers, email addresses, postal codes, URLs, and dates is correct.
- Numeric fields fall within the allowed minimum and maximum ranges.
- Confirmation fields match (like password confirmation).
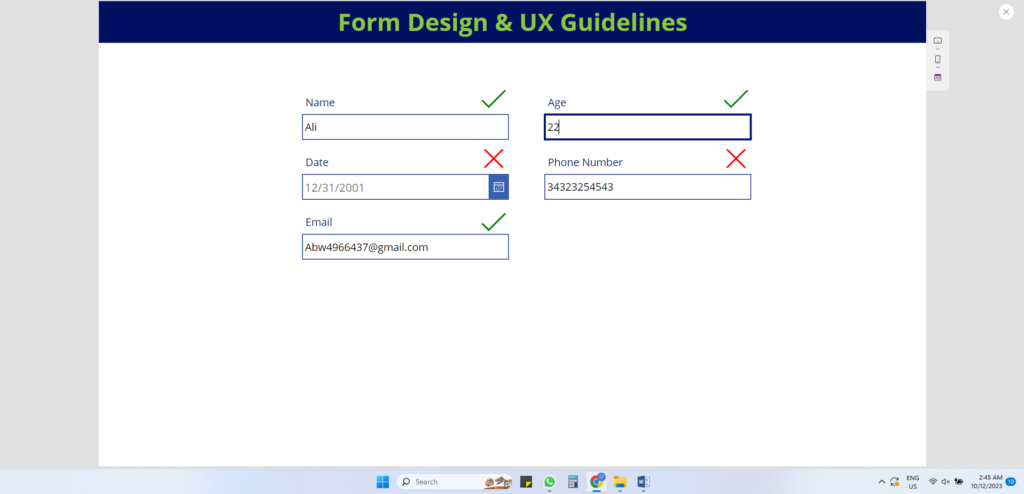
When the form doesn’t pass validation, it’s crucial to provide feedback to the user. There are two strategies for this:
After Submission
Check if the form passed validation when the user submits it.
Before Submission
Check if a field passes validation as the user types, immediately indicating success.
Effective feedback should let the user know which fields failed and provide guidance on how to fix them. Strategies for delivering feedback include listing failed fields at the top of the form, highlighting problematic fields in red, or displaying error messages next to the failing fields. Importantly, you should not disable the form’s submit button until validation passes. If you do disable it, ensure that it’s visually clear why the button is disabled at all times.
Implementing Error Handling
Never assume that a form has been successfully submitted. It’s essential to check for errors. In Power Apps, error handling for form controls and patch forms is different. If you’re using a Power Apps form control, you can catch errors using the “OnSuccess” and “OnFailure” properties. For patch forms, wrap the “Patch” function in an “IfError” function to detect errors. When an error occurs, you should notify the user that the form could not be submitted and explain why it was unsuccessful. Avoid moving to another screen until the user has taken corrective action.
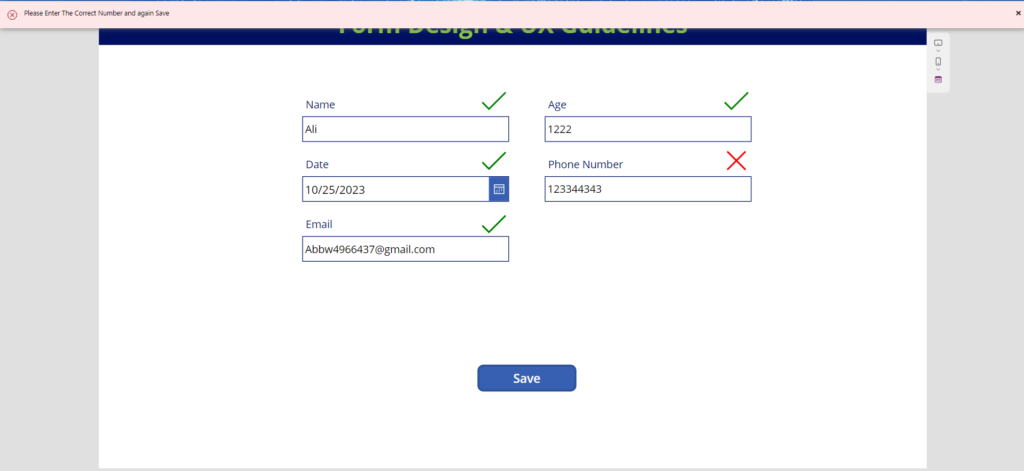
- Use notifications (e.g., Notify) to display error messages or information to users in a pop-up or alert style.
- For example, you can use Notify(“Error: Invalid input”, NotificationType.Error) to show an error message.
Responsive Design
- Ensure your form works well on different screen sizes and orientations.
- Use responsive containers and layouts to adapt to various devices.
User Permissions
- Implement role-based permissions to restrict access and actions based on user roles and responsibilities.
- Hide or disable certain fields or options for users who don’t have permission to use them.
Reference: Form Controls
Managing Power Apps Form Modes
Utilizing a single form for all three modes—Edit, View, and New—can streamline your Power Apps design and simplify user interaction. Here’s how to achieve this:
1. Single Form Control: Start by adding a single Form control to your app. This will be the form that dynamically switches between Edit, View, and New modes.
2. Manage Form Mode Dynamically: Use logic, conditions, or user actions to determine which mode the form should be in at any given time. You can set the form’s Mode property based on your app’s requirements.
Reference: Managing Power Apps Form Modes
Conclusion:
Mastering form design in Power Apps requires a holistic approach. It’s not just about aesthetics, but also about ensuring data integrity, enhancing user experience, and optimizing for different devices and user roles. By implementing the best practices outlined in this article, developers can create more efficient, user-friendly, and error-free forms that cater to the needs of diverse audiences.

