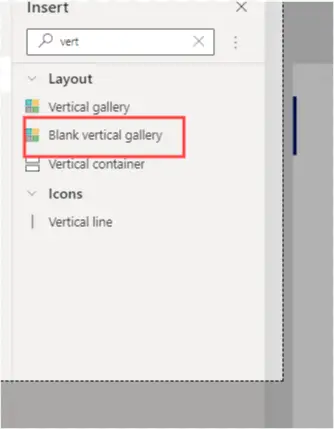


This guide takes readers on an exciting journey to explore and integrate custom fonts in Power Apps. By following a step-by-step approach, one can easily set up a font exploration tool using a Vertical Blank Gallery.

Reference: Gallery controls in Power Apps
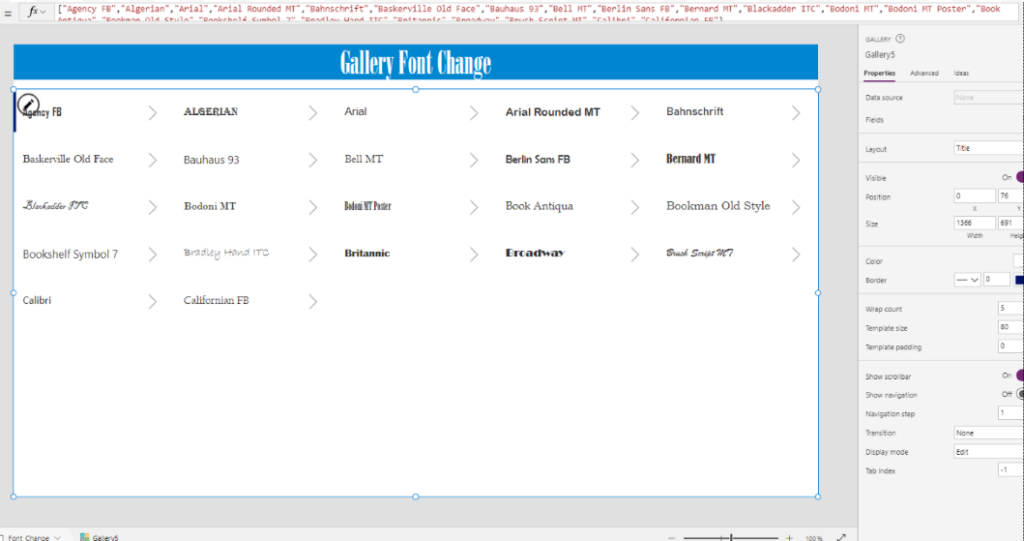
With the gallery in place, it’s time to load it up with fonts:
Select the gallery you just added.
Over on the right, you’ll find the “Properties” pane.
Locate the “Items” property.
Now, paste in this modified list of fonts, handpicked for your creative journey:
["Agency FB","Algerian","Arial","Arial Rounded MT","Bahnschrift","Baskerville Old Face","Bauhaus 93","Bell MT","Berlin Sans FB","Bernard MT","Blackadder ITC","Bodoni MT","Bodoni MT Poster"]

Click on the gallery to select it.
In the toolbar, choose “Insert” and then “Text.”
Now, for the magic trick! Set the “Text” property of this Text control to display the font name. You can do this using
the Gallery’s.
It’s as simple as this:
					Text:ThisItem.Value

Font: ThisItem.Value
You can add each font to a label. Simply insert a label control and set the font name in the Font property using double quotes, like this:
