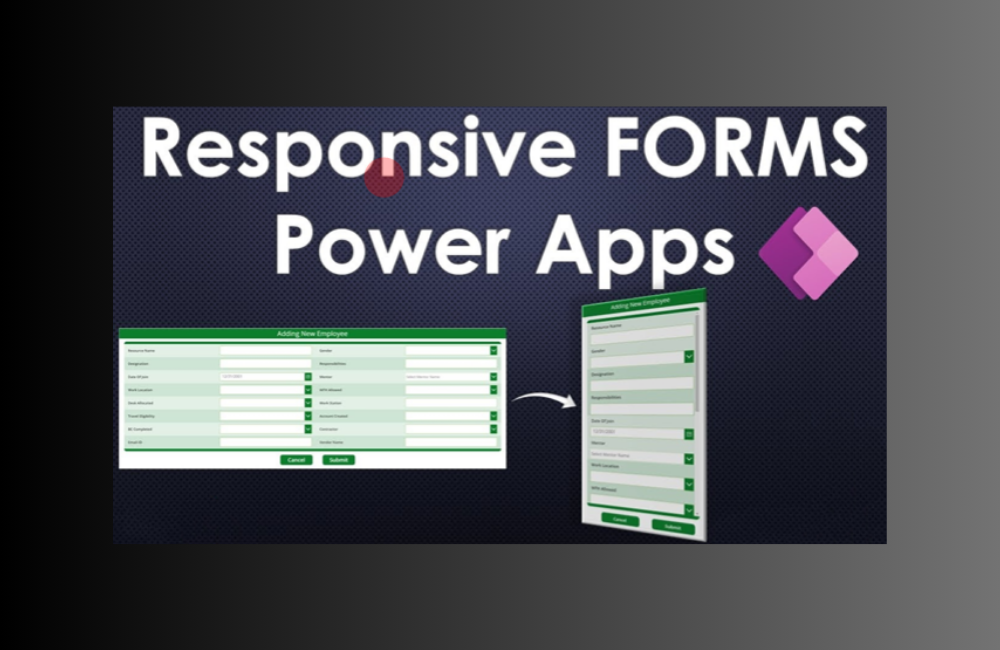
This blog provides a step-by-step guide to building responsive Power Apps forms from scratch. By following these simple instructions, readers will be equipped to create aesthetically appealing and efficient forms for various needs.
1. Create a New Canvas App
2. Change App settings to enable Responsiveness
Turn off those two features “Scale to fit”, “Lock aspect ratio”
7. Add text input for first question with following properties
:
					Default= ""
HintText= "Name"
8. Now our form with 1st question is created for remaining questions just copy paste the same label and textinput and change the text values (height of next labels will be 50 and all other details will be same)
:
9.Now lets add the last element (the submit button)
insert vertical container in container2 and change the following properties
:
Building responsive forms in Power Apps can seem challenging, but with the right approach and guidelines, it becomes a straightforward task. By leveraging the power of containers, properties, and design elements, one can craft user-friendly and visually appealing forms for any application.
If you want to learn more about Power Apps, feel free to explore our other informative articles and tutorials on Power Apps.
Software Zone 365 is a prominent software house based in Pakistan, dedicated to delivering high-quality services as a Microsoft 365 consultant platform. With a commitment to excellence and innovation, Software Zone 365 plays a crucial role in empowering businesses and organizations to harness the full potential of Microsoft 365 and other cutting-edge technologies.