Introduction
Filtering data is essential in interactive applications, and PowerApps is at the forefront of this revolution. Our PowerApps Filterable Galleries Guide will provide tools and insights for developers and app builders keen on maximizing PowerApps functionalities.
An Overview of PowerApps Filterable Galleries
For those new to PowerApps, a frequent question is how to implement efficient gallery filtering. This guide aims to break down the process, offering insights on creating a filterable gallery using dropdown menus and also incorporating advanced features like the ‘All’ filter and search functionality.
Filtering in Practice: The Employee List Scenario
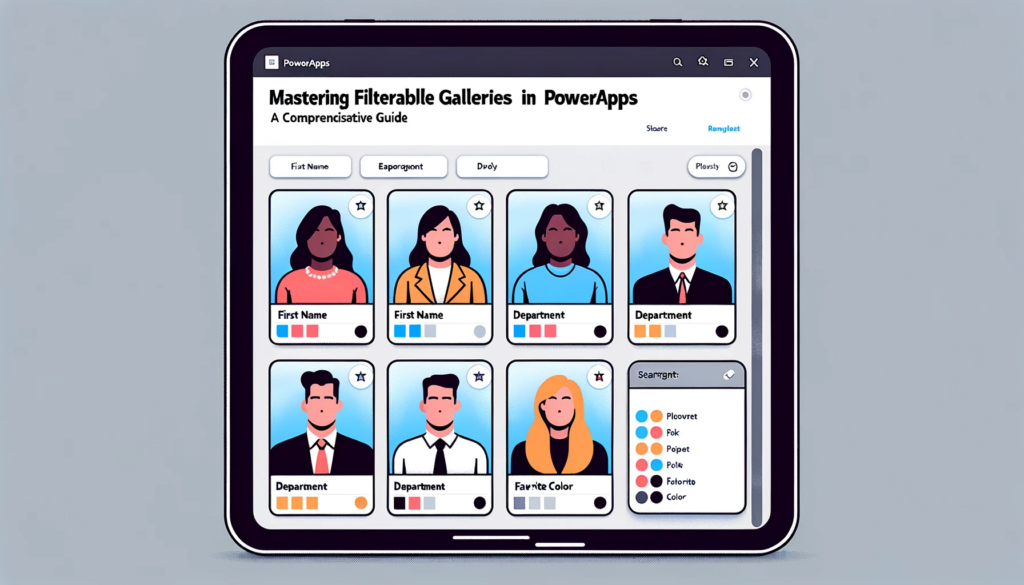
Imagine an organization wanting to display a list of employees based on departments or other attributes. In this PowerApps Filterable Galleries Guide, we’ll delve deep into making the most of PowerApps’ gallery features.PowerApps offers several methods to achieve this:
- Unique Department Filter: Grouping employees by their respective departments.
- Universal Filter: Listing all employees with a dropdown option to filter by department.
- Dual Filters: Introducing another filtering criterion, such as ‘Favorite Color’.
- Enhanced Filtering: Enabling search by first and last name.
Building Your PowerApps Filterable Gallery: Step-by-Step
Using a demo application as a reference, let’s walk through the process of setting up these filters.
Getting Started
Initiate by creating a new screen. Insert a gallery and link it to your employees’ data. For this example, the fields to be considered are ‘First Name’, ‘Department’, and ‘Favorite Color’. If sourcing from SharePoint, ensure that complex columns are appropriately formatted.
Implementing the Unique Department Filter
Start by adding a dropdown input. Populate it with department data. The formula to filter employees by department is:
fx:Filter(StaffList, Dept = DropDown1.Selected.Value)
To avoid duplicate departments, the ‘Distinct’ function can be utilized:
fx:Distinct(StaffList, Dept)
Setting up the Universal Filter
For a comprehensive view with filtering capability, integrate the ‘All’ function. This can be achieved by building a collection and dynamically adding the ‘All’ record.
Configuring Dual Filters
To provide users with a granular filtering experience, introduce a secondary dropdown. This allows filtering by two criteria. Adjust the filtering logic to accommodate both department and color preferences.
Integrating Search Capability
To further enhance user experience, integrate a search bar. This provides the flexibility to search for employees by their names while retaining the filtering options.
Optimizing PowerApps Filterable Galleries with Large
Data Sources
For organizations dealing with vast amounts of data, it’s crucial to refine data before any extensive operations to prevent performance issues. As an example, instead of sifting through all purchase orders in a large company, it’s more efficient to navigate through a filtered subset first before applying additional refiners.
Reference: Gallery control in Power Apps
Conclusion
Filtering is fundamental for interactive applications, enhancing user experience and ensuring efficient data management. With PowerApps, businesses can create sophisticated, filterable galleries tailored to their needs. Whether you’re just starting with PowerApps or looking to enhance an existing application, the potential is immense.
Need more insights or assistance with your PowerApps endeavors? Feel free to reach out to us. At SoftwareZone365, we’re always eager to assist, ensuring you harness the full potential of your PowerApps projects.


