Power Apps Guide: Filtering Galleries by Current User in
Two Ways!
Overview:
This blog post details two distinct methods to filter Power Apps galleries by the current user. The first method demonstrates how to use the Filter function based on the user’s email, whereas the second method delves into granting individual user permissions in SharePoint, ensuring each user accesses only their own records.
Power Apps Gallery Filtering by Current User is a crucial feature for many businesses that use SharePoint. This method enables targeted data views based on individual users, ensuring a personalized and efficient user experience.
First Way to Filter
Create the following columns with their respective types and settings
- Employee (Person or User): This column will store the employee’s name.
- Score (Number): This column will store the performance score as a numerical value.
- HR(Person or User): This column will store the name of the manager who conducted the review.
- Review Date (Date Only): This column will store the date of the performance review

Connect SharePoint With Your Gallery
In your gallery, you can set the Items property to filter based on the current user’s email address. Here’s how
you can do it:
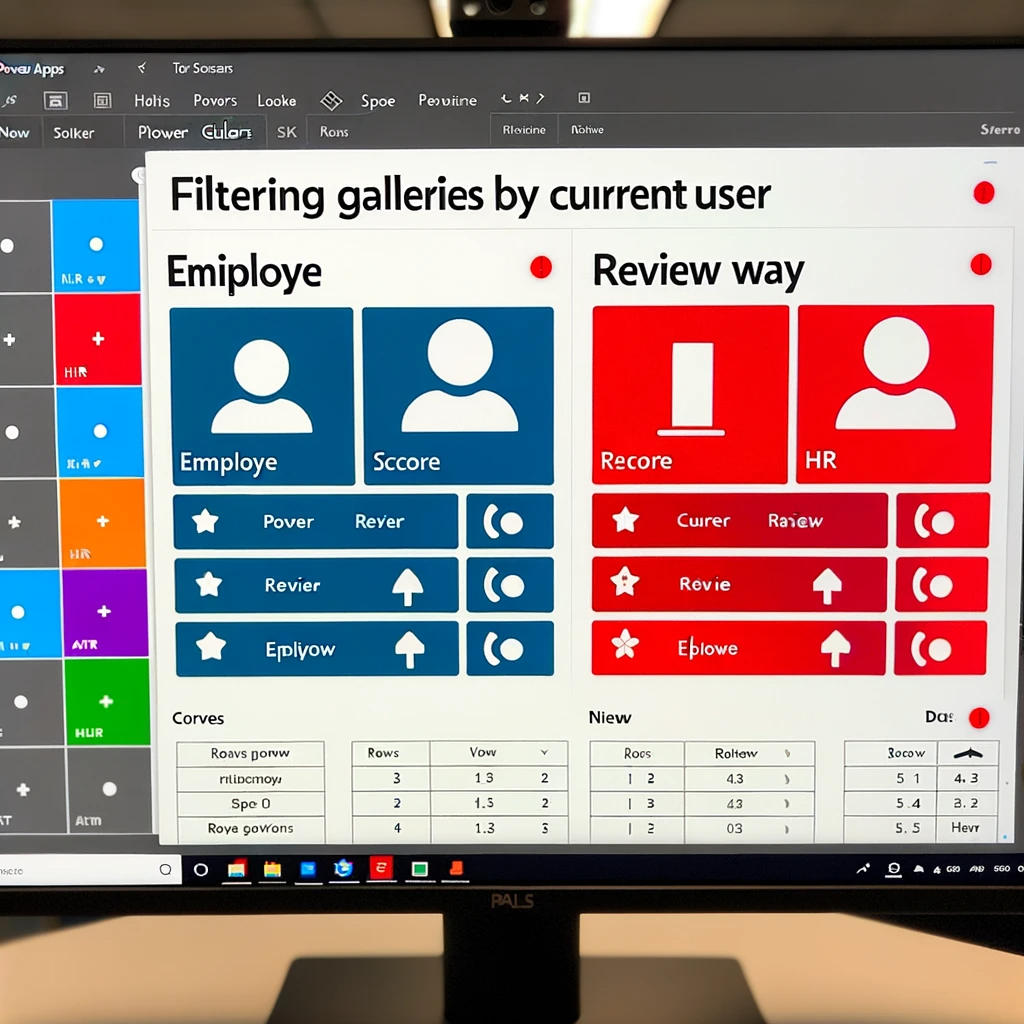
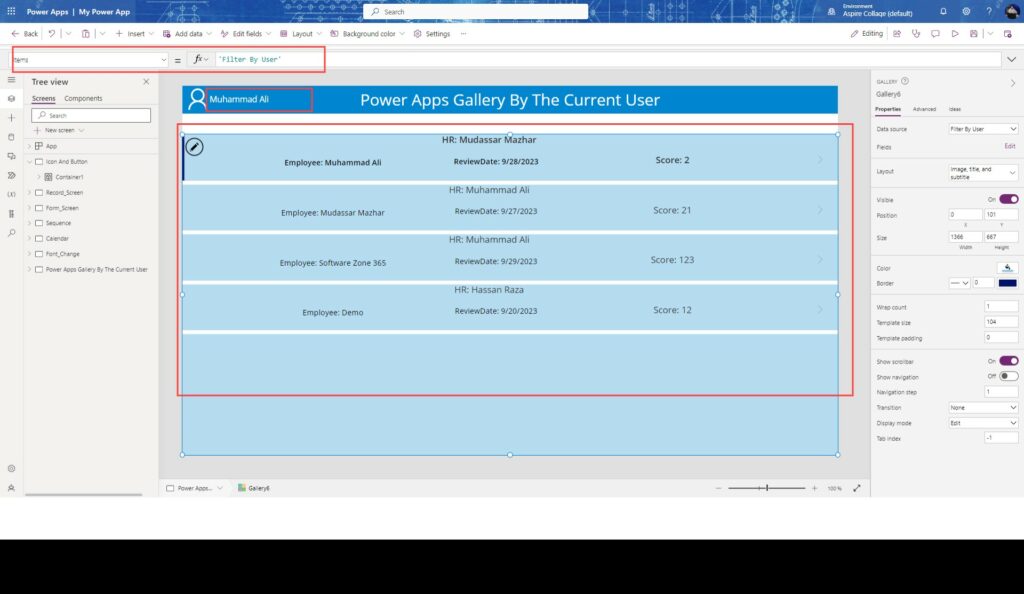
Without Filter gallery View
With Filter gallery View
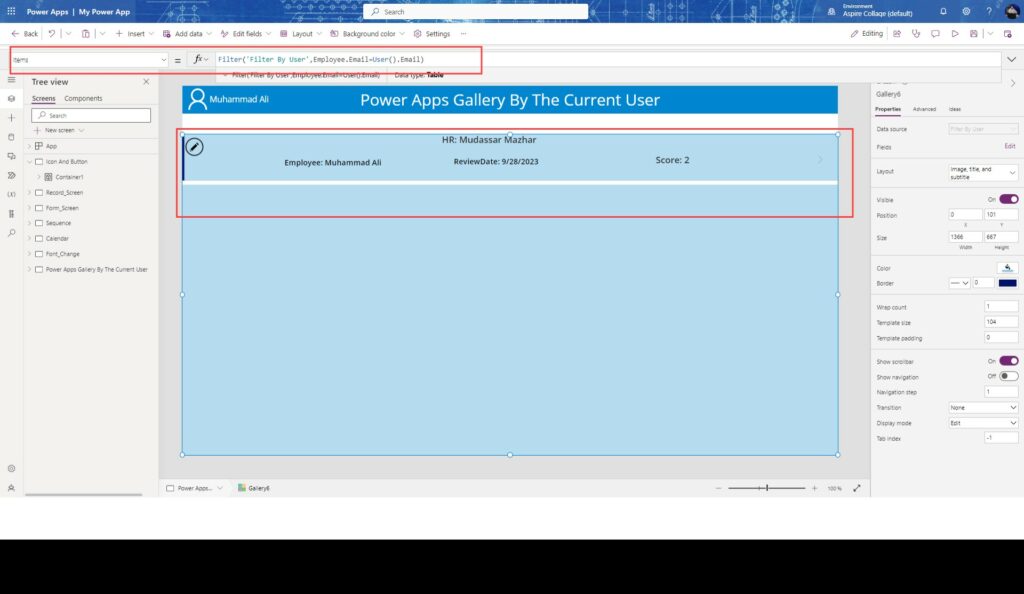
Filter('Filter By User',Employee.Email=User().Email)
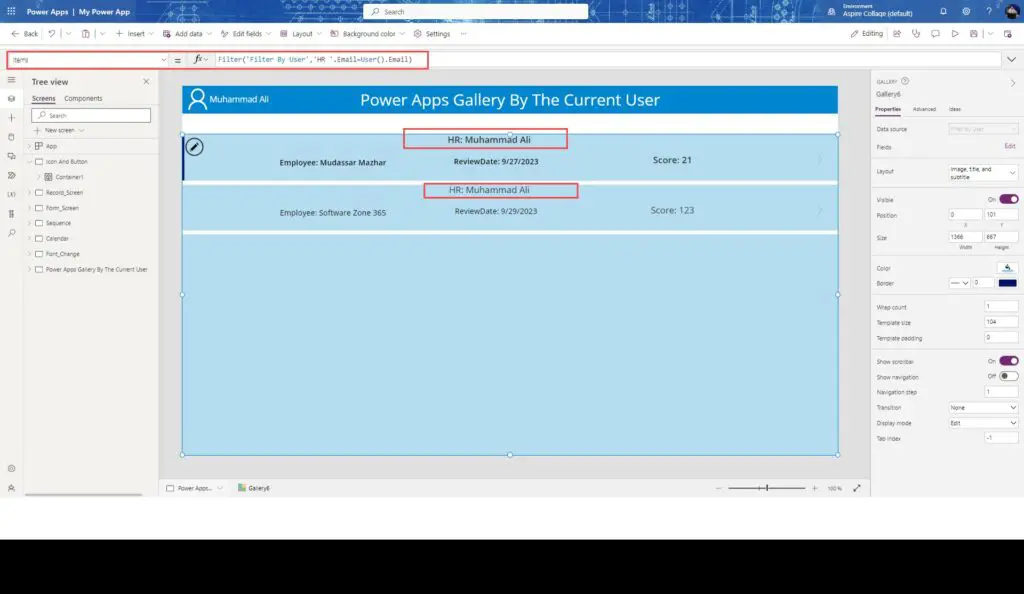
Filter('Filter By User','HR '.Email=User().Email)
This formula filters the gallery to only display items where the Manager’s email address in the SharePoint list matches the current user’s email address. This way, each user sees only their related Filter By User.
Important Note
While this approach filters the data, it’s not a secure way to protect sensitive information, as users can still access the SharePoint list directly. For higher security, consider SharePoint permissions and other access control mechanisms. By following these steps, you can easily set up your Power Apps gallery to display Filter by User specific to the current user. However, for truly sensitive data, additional security measures beyond filtering may be required.
Second Way to Filter
Granting Individual User Permissions in SharePoint
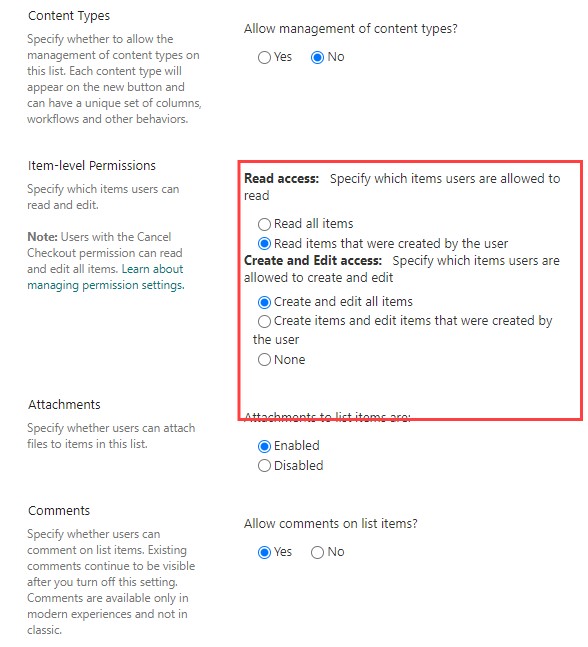
Another way to ensure that each user only sees their own records is to change the SharePoint list settings to grant specific edit and read permissions to the user who created each list item. This method is straightforward to set up and doesn’t require additional flow runs. However, it has limitations, such as always attributing items to the user who created them, and the inability to change permissions to another employee because they are tied to the item’s creator.
Grant Individual User Permissions
To implement this approach, follow these steps:
- Open SharePoint List: As the SharePoint site administrator, navigate to the Performance Reviews list.
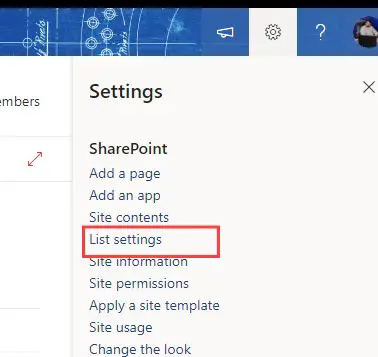
- Access List Settings: In the list, click on the “Settings” (gear) icon and select “List settings.”
- Choose Permissions for This List: Under the “Permissions and Management” section, select “Permissions for this list.”
- Stop Inheriting Permissions: You will need to stop inheriting permissions from the parent site to grant unique permissions for each item.
- Grant Permissions: To give individual users access to their own records, you can use the “Grant Permissions” option. Typically, you would add the user who created the item and assign them the desired permissions (e.g., edit and read access). This ensures that each user can only see and edit their own records.
Important Consideration
Keep in mind that this method heavily relies on the “Created By” field, attributing each item to the user who created it. Once permissions are assigned, changing them to another employee can be challenging because they are tied to the item’s creator. By following these steps, you can easily set up individual permissions in your SharePoint list, allowing users to access only their own records. This method is user-friendly and doesn’t require additional flow runs, but it does have limitations related to item ownership and future changes in permissions.
“Power Apps Gallery Filtering by Current User offers businesses a streamlined way to display data relevant to the individual. This guide provides insights into two primary methods to achieve this. The first section focuses on how the Filter function, combined with user email, can be harnessed for Power Apps Gallery Filtering by the Current User. The latter section dives deep into individual permissions within SharePoint, providing another avenue for user-specific filtering.”
Conclusion:
Filtering galleries in Power Apps based on the current user is achievable via two approaches: using the Filter function or adjusting SharePoint permissions. While the former is straightforward, it might not be secure for highly sensitive information. The latter offers more security by granting individual permissions, although it has its own set of limitations.

