How To Create A Pop-up Menu In Power Apps
Overview:
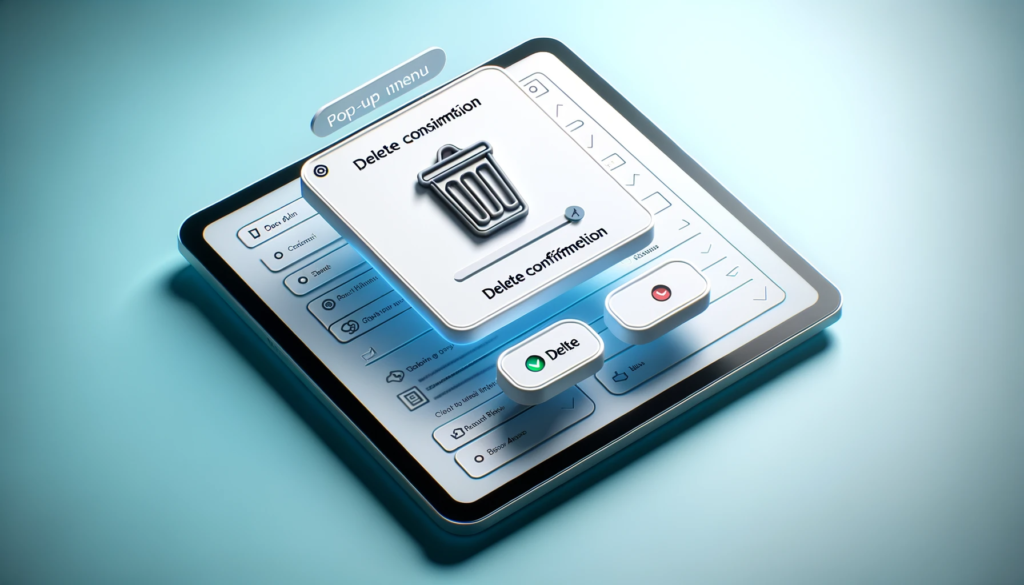
This blog post provides a step-by-step guide on creating a Delete pop-up menu in Power Apps. Through this tutorial, users will understand how to insert icons, define properties, and integrate actions to delete or cancel operations in the gallery.
We create Delete pop-up insert trash icon in gallery
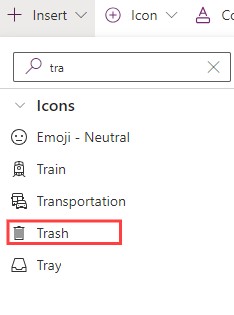
Write this code OnSelect property of trash icon
UpdateContext({Delete_item_var:true})

- Our next step is create pop-up
- Insert Rectangle
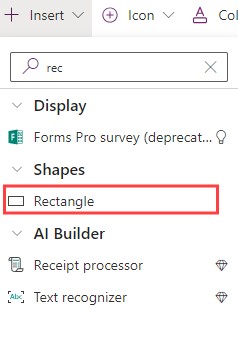
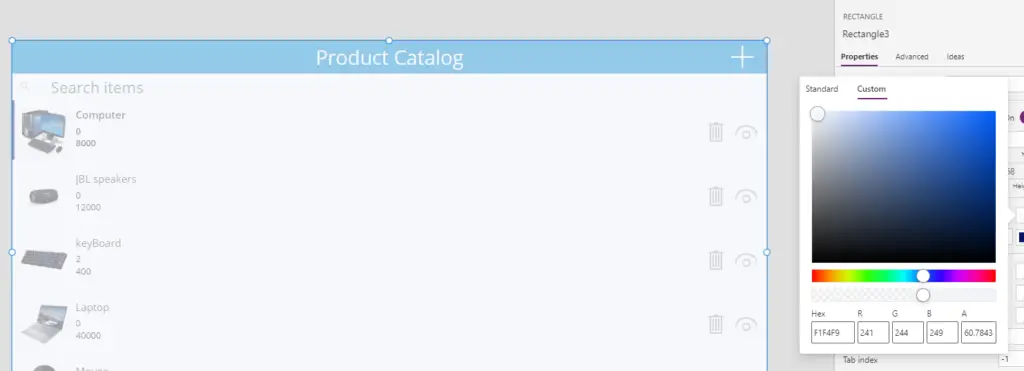
We do this step on Rectangle Property
					Name: Rectangle3
Fill: RGBA(241, 244, 249, 0.61)
Height: Parent.Height
Width: Parent.Width
X:0
Y:0
Visible: Delete_item_var
Insert one more rectangle
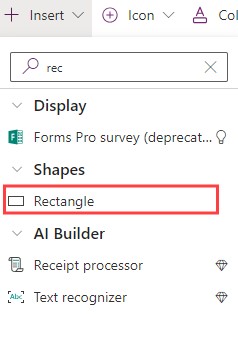
Do this step on Rectangle Property
					Name: Rectangle3
Fill: RGBA(255, 255, 255, 1)
Height:250
Width:500
X:Parent.Width/2-Self.Width/2
Y:Parent.Height/2-Self.Height/2
Visible: Delete_item_var
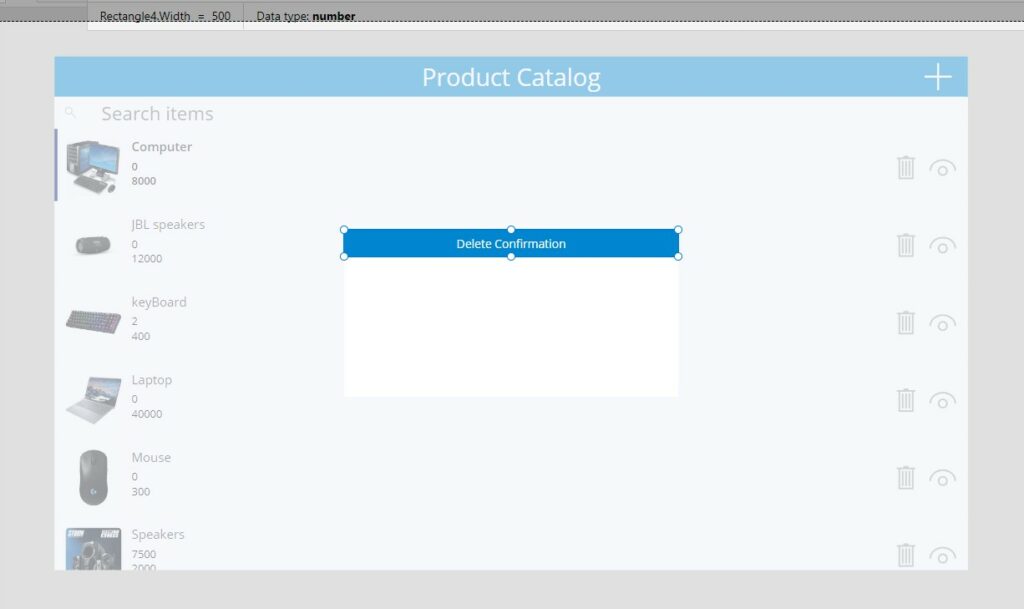
Now we need to add label
Text: “Delete Confirmation“
Add One More label
					Name:Label2_1
Fill:RGBA(255, 255, 255, 1)
Color:RGBA(0, 0, 0, 1)
Height:40
Width:Rectangle4.Width
X:Rectangle4.X
Y:364
Visible:Delete_item_var
Insert Trash icon

					Name:Icon3
Fill:RGBA(255, 255, 255, 1)
Color:RGBA(0, 0, 0, 1)
Height:Label2_1.Height
Width:Rectangle4.Width
X:Label2_1.X
Y:Label2_1.Y
Visible:Delete_item_var
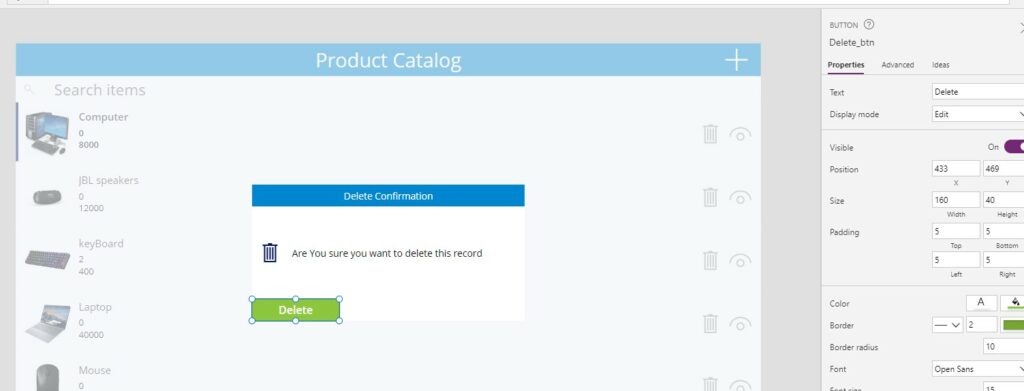
Add Button for Delete Selected record from gallery
					Name:Delete_btn
Fill:RGBA(141, 198, 63, 1)
Color:RGBA(255, 255, 255, 1)
Height:40
Width:160
X:433
Y:469
OnSelect:Remove('Product Catalog',BrowseGallery1.Selected);
UpdateContext({Delete_item_var:false})
Visible:Delete_item_var
Reference: UpdateContext function in Power Apps
Insert one more button to Cancel the action if you need to cancel
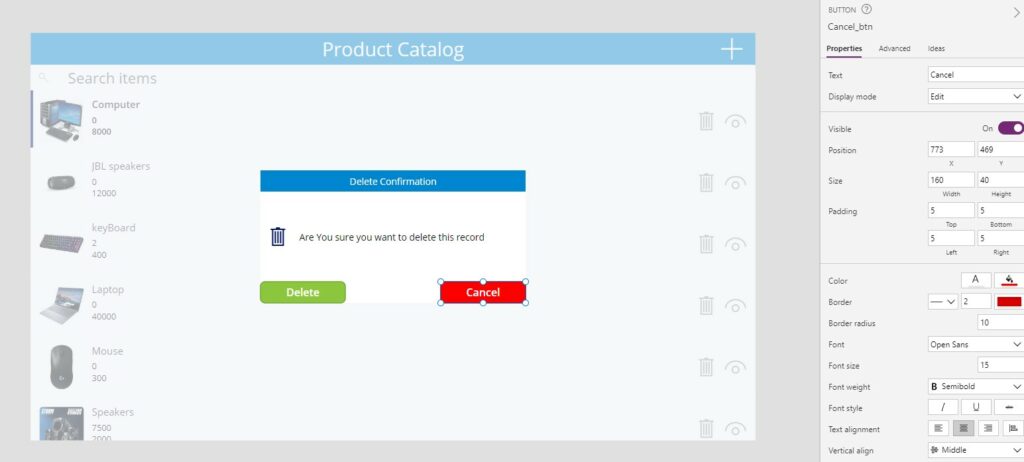
					Name: Cancel_btn
Fill:RGBA(255, 0, 0, 1)
Color:RGBA(255, 255, 255, 1)
Height:40
Width:160
X:773
Y:469
OnSelect:UpdateContext({Delete_item_var:false})
Visible:Delete_item_var
Make the group select all the thing and make group And Rename it
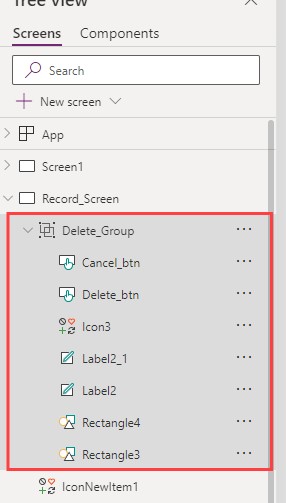
A Pop-up Menu is ready!
Conclusion:
Creating a pop-up menu in Power Apps offers a user-friendly interface for gallery interactions. By following this guide, developers can efficiently implement the Delete function, enhancing the user experience and streamlining data management processes.

