PATCH A SharePoint Person Column In Power Apps!
Overview:
This blog post provides a comprehensive guide on how to patch a SharePoint person column in Power Apps. Starting from creating a SharePoint list, the article delves into the intricacies of setting up a Power App, connecting to a data source, and ultimately, implementing the patch operation with specific coding instructions.
Open to the SharePoint list https://Sharepoint.com
Generate a new SharePoint list by creating a new custom list.
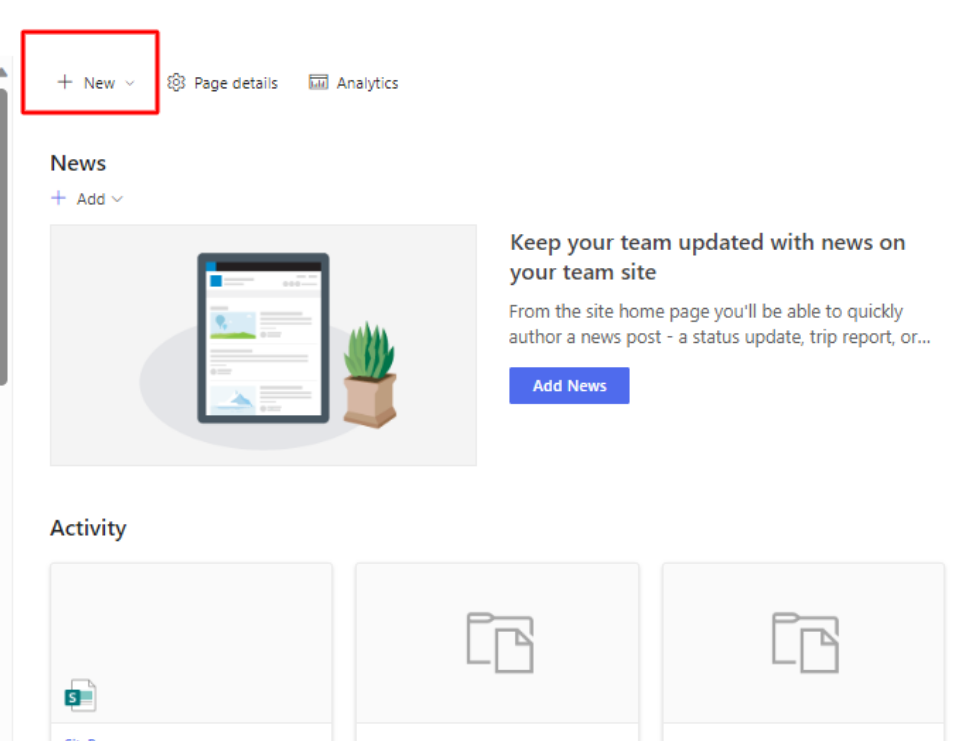
Select the list.
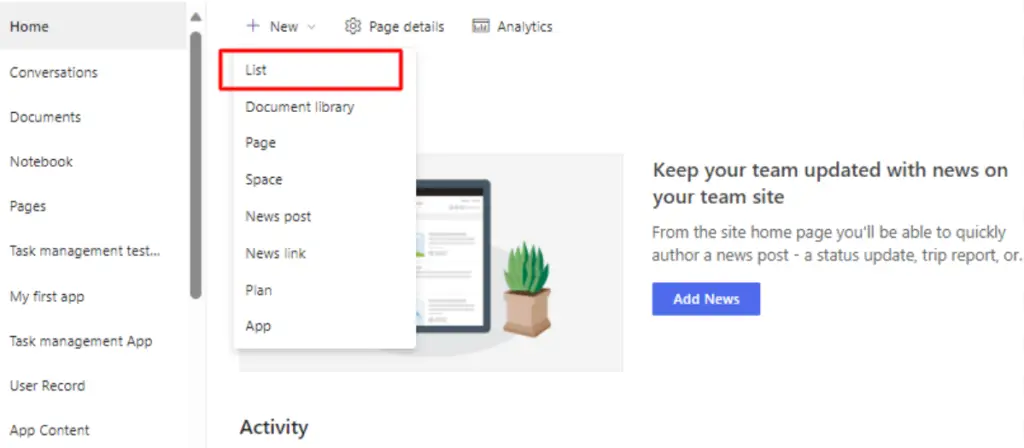
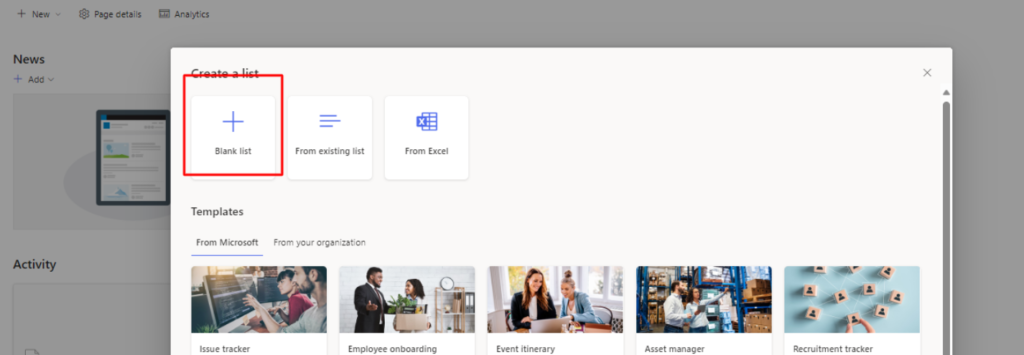
In the SharePoint interface, kindly select the option to create a new blank list.
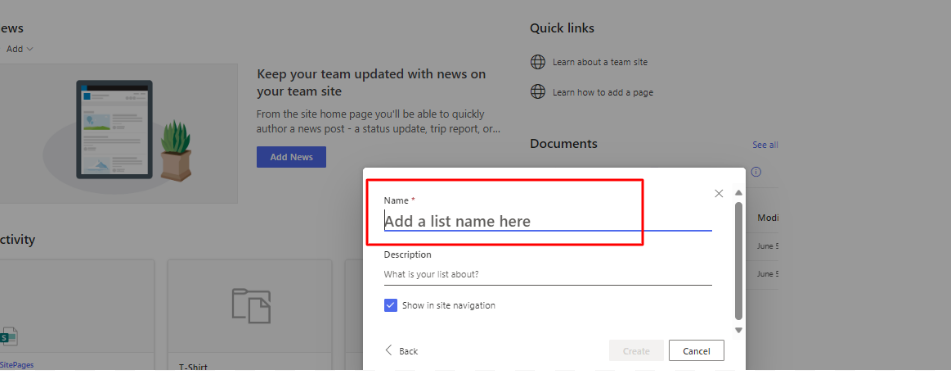
Please enter the name of your SharePoint list in this field.
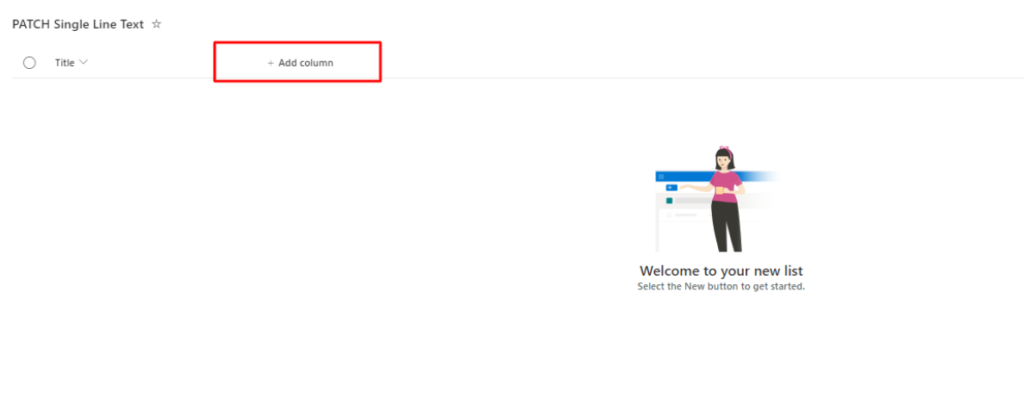
Generate a new column using the ‘Create New Column’ functionality.”
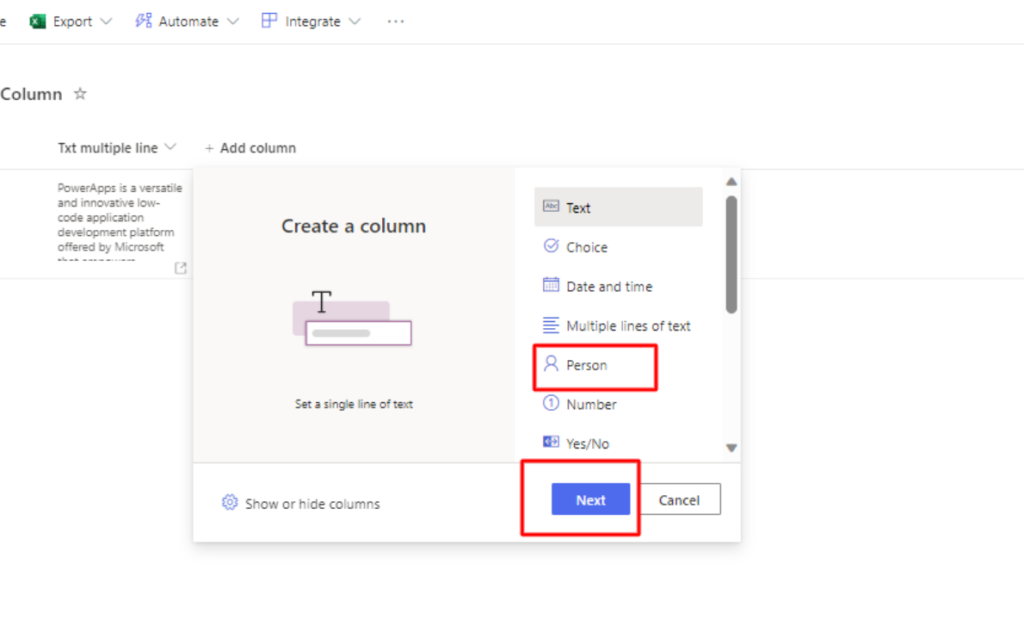
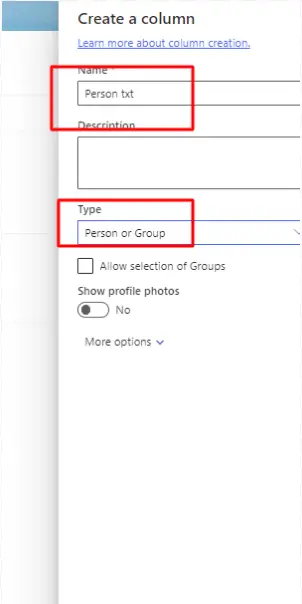
To create a PersonType column, please select ‘Person or group’ from the available options and proceed.
Specify the column name to be incorporated into the ‘Name’ property.
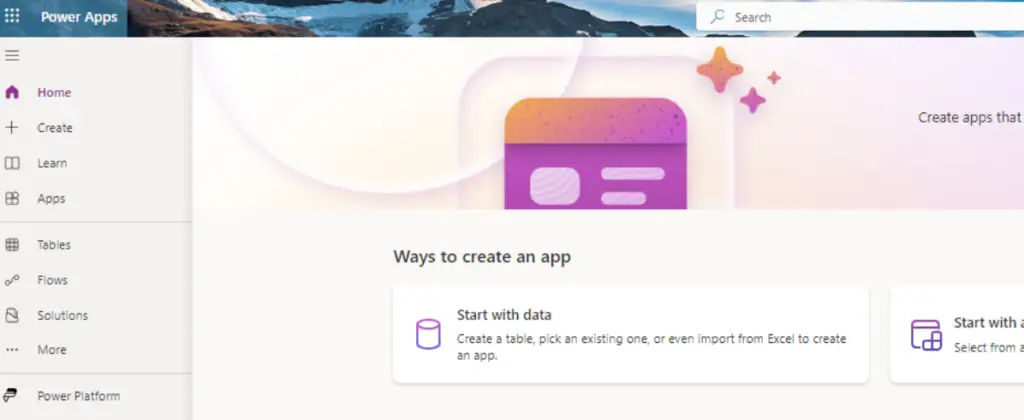
Proceed to the next step by creating your Power App https://make.powerapps.com
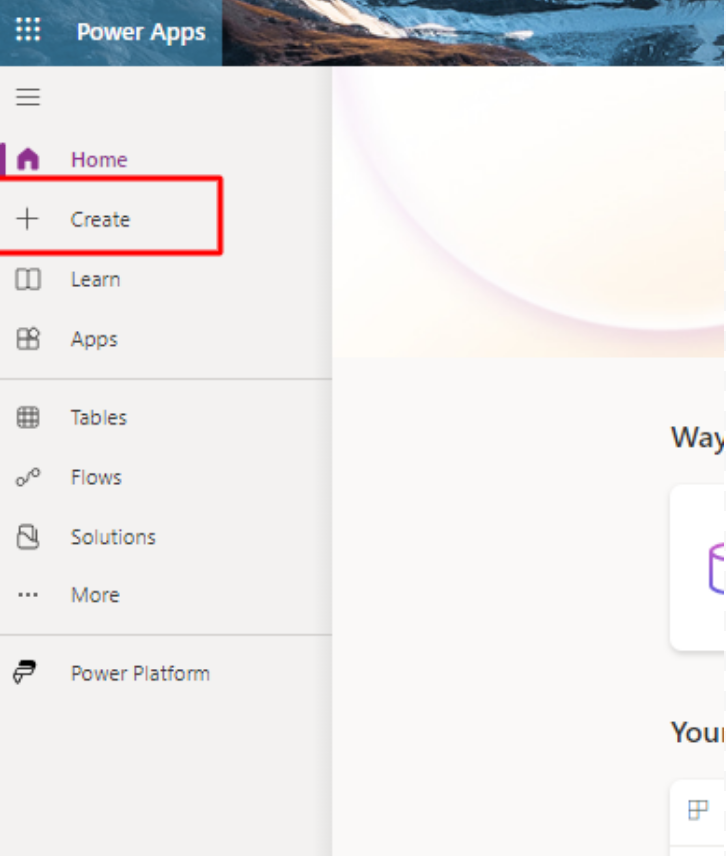
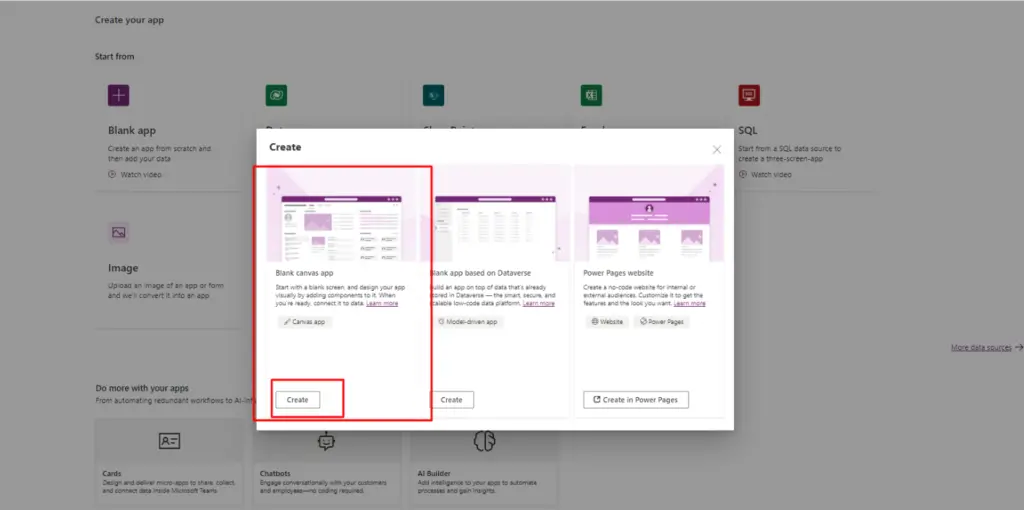
Please select the ‘Create’ button.
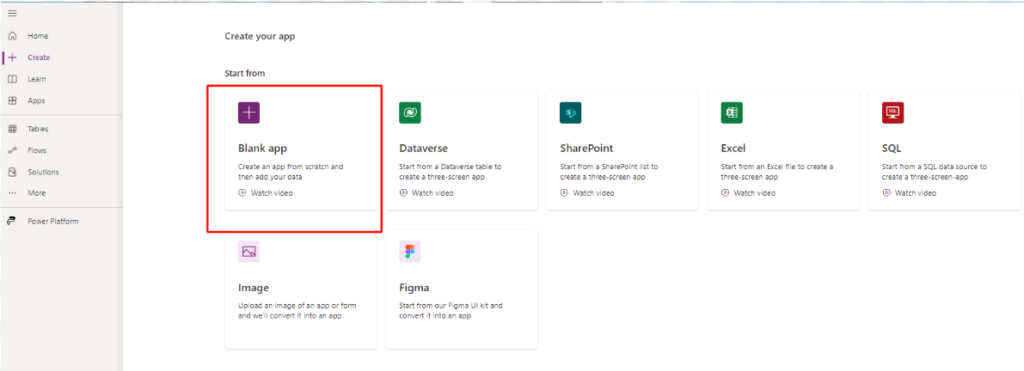
In order to initiate the creation process, please select the ‘Blank App’ option.
To initiate the creation of your canvas app, kindly proceed by selecting the ‘Canvas’ option.
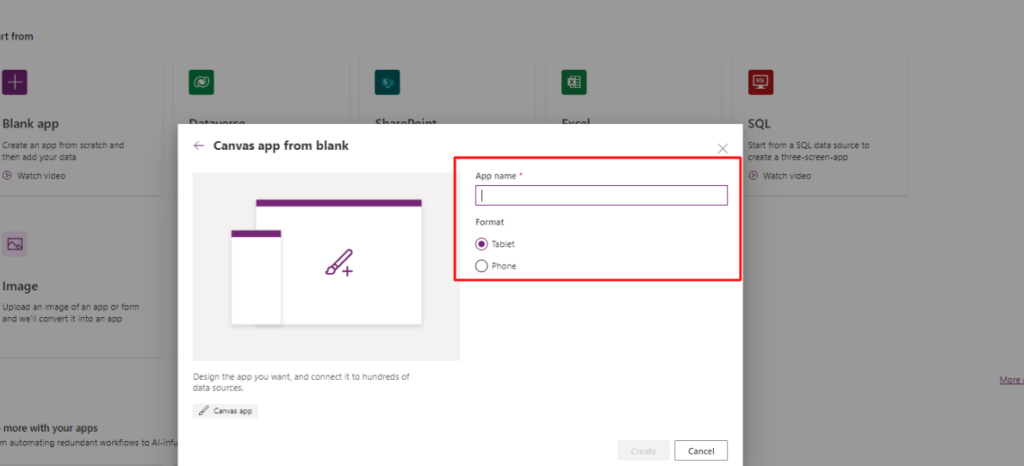
Please input the name of your application into the designated field and also make a selection for the desired formatting, either ‘Tablet’ or ‘Phone’.
Tailor the application to align seamlessly with your specific requirements and preferences.
Establish a connection between your Power App and your designated data source.
Add a Data Source:
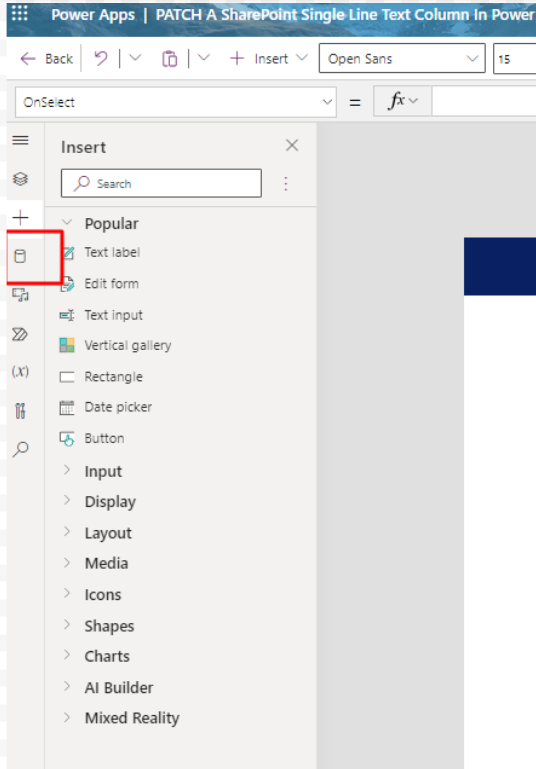
In the Power Apps studio, go to the “Data” tab in the left-hand menu.
Select a Data Source:
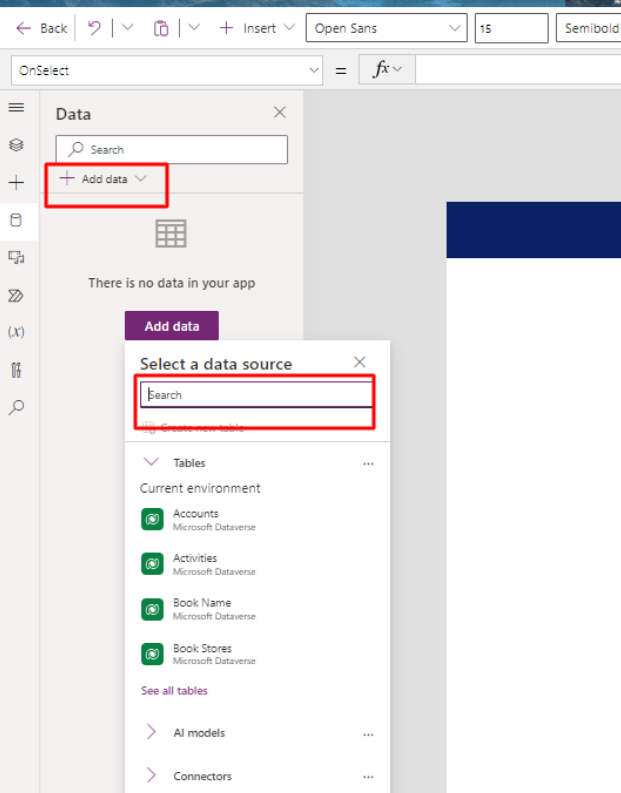
Click on “Add a data source” to browse and select your data source. Common options include SharePoint
Connect to Your Data Source:
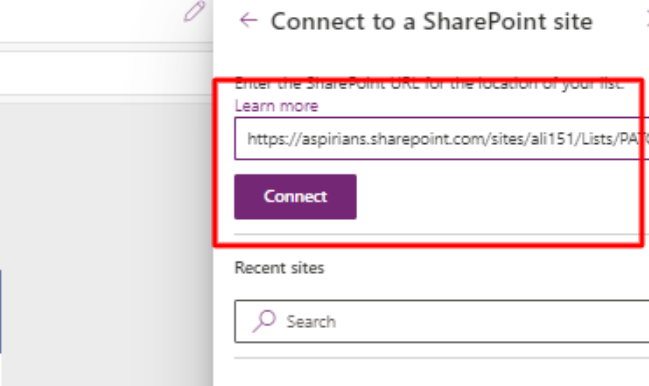
Depending on your chosen data source, you’ll need to provide connection details, such as the SharePoint site URL
Copy your SharePoint list link and past it into this input field.
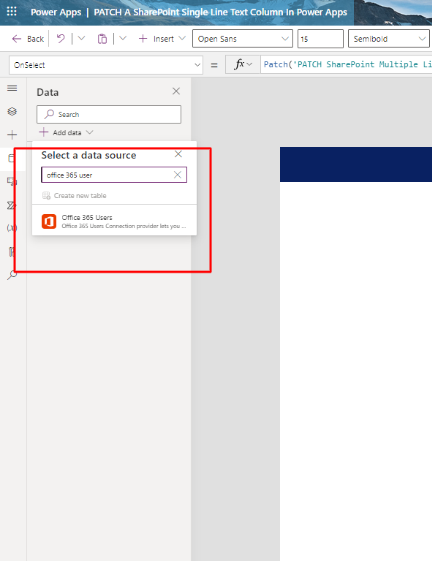
Integrate your application with the “Office 365 User” connector.
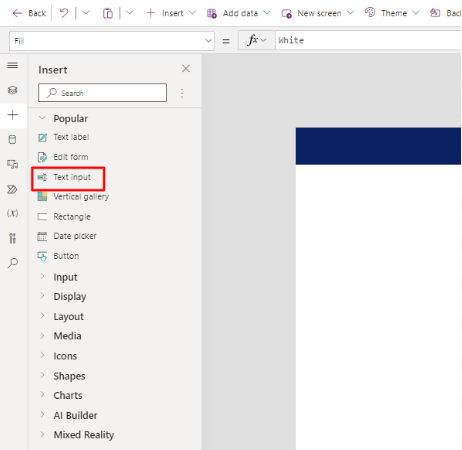
Incorporate text input fields…
Incorporate a dropdown control and input the following code within the ‘Text’ property.
Choices([@'PATCH SharePoint Multiple Line Text Column'].Persontxt)
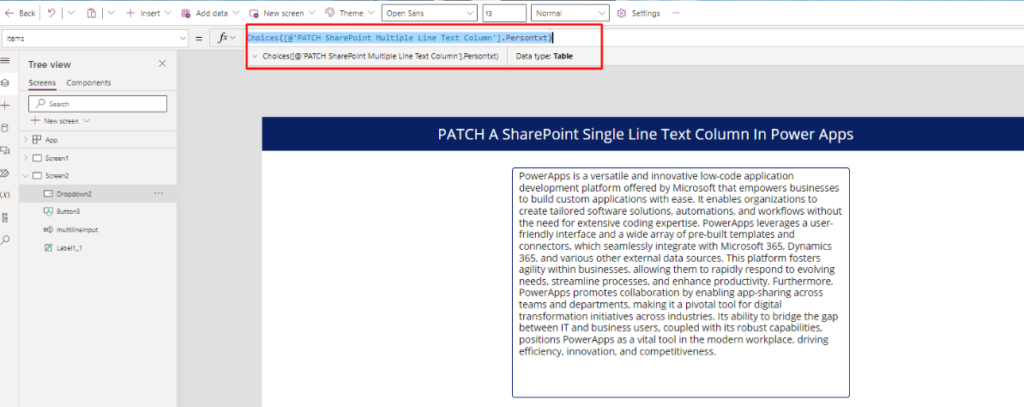
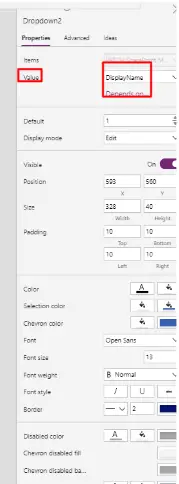
Set dropdown value “Display Name”,
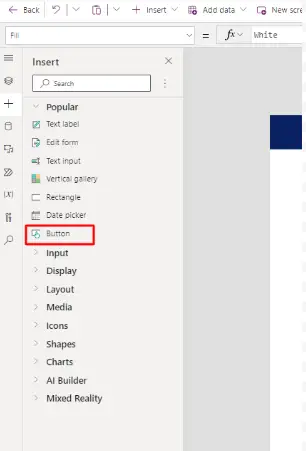
Incorporate a button to enable the ‘Patch‘ operation.
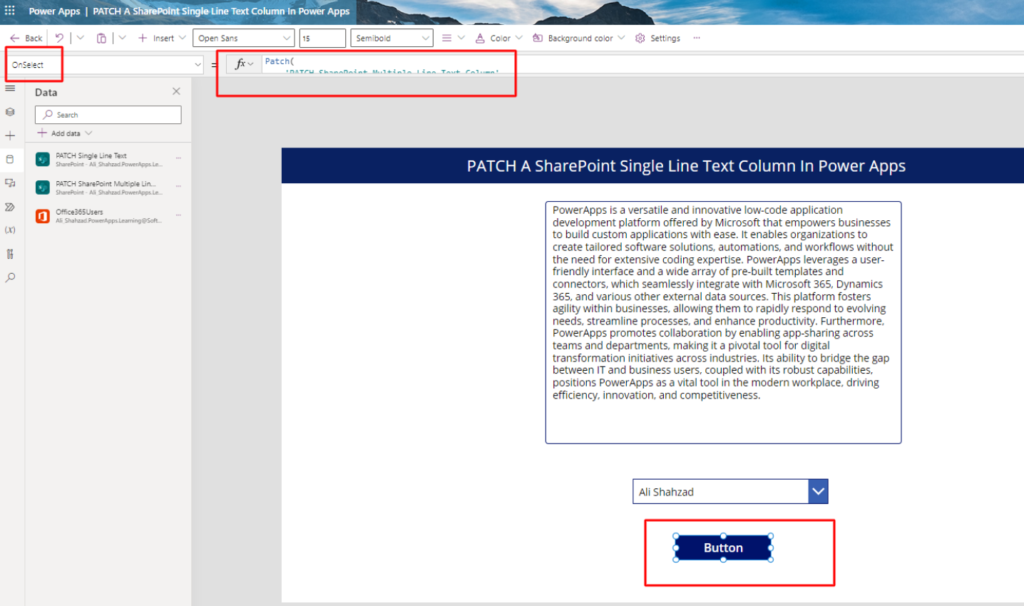
Compose a PATCH function within the On Select property of the button.
(persontypedrp is my SharePoint list column )
					Patch(
    'PATCH SharePoint Multiple Line Text Column',
    Defaults('PATCH SharePoint Multiple Line Text Column'),
    {
        'Person txt': {
            '@odata.type': "#Microsoft.Azure.Connectors.SharePoint.SPListExpandedUser",
            Claims: "i:0#.f|membership|" & Lower(persontypedrp.Selected.Email),
            Department: "",
            DisplayName: persontypedrp.Selected.DisplayName,
            Email: persontypedrp.Selected.Email,
            JobTitle: ",",
            Picture: ","
        }
    }
)
Conclusion:
Successfully patching a SharePoint person column in Power Apps requires a methodological approach. This tutorial provides a systematic roadmap from start to finish, allowing users to seamlessly integrate a SharePoint list with Power Apps and utilize the patch function efficiently.


