In Power Apps, dropdown menus are essential for user interaction. But sometimes, the needed option is missing. This is where the “PowerApps Custom ‘Other’ Dropdown” comes in. This article dives deep into creating a Custom Dropdown with an ‘Other’ Option in Power Apps, enabling users to add unique values when needed.
Creating a Custom Dropdown with ‘Other’ in PowerApps
Overview:
Dropdown menus in Power Apps typically provide users with pre-defined values. Yet, there are times when the option they need isn’t on the list. Addressing this, our guide will explore creating a “Custom Dropdown ‘Other’ Option in Power Apps”, allowing users to input unique values seamlessly.
**Creating an App and Custom SharePoint List**
**Step 1: Setting up a SharePoint list is crucial for the PowerApps Custom 'Other' Dropdown feature.**
- Navigate to your SharePoint site where you want to create the “Employees” list.
- In the upper right corner, click on the gear icon (Settings), and then select “Site contents.”
- Click on “+ New” and choose “List.”
- Name your list as “Employees.”Inside the “Employees” list, create the following columns:
Inside the “Employees” list, create the following columns:
– **Full Name:** Choose “Single line of text” for this column.
– **Joining Date:** Select “Date and Time” as the column type.
– **Status:** Create a choice column with options “Active” and “Non-Active.”

**Step 2: Create a Power App**
Go to the [Power Apps portal]
Click the “Create” button and choose “Canvas app from blank.”
Select the layout that suits your needs (Phone or Tablet).
You’ll be directed to the Power Apps Studio, the primary workspace for PowerApps Custom ‘Other’ Dropdown creation.
**Building the PowerApps Custom 'Other' Dropdown in Your App**
**Step 3: Setting up the PowerApps Custom 'Other' Dropdown in the Edit Form**
- Insert an “Edit Form” into your canvas.

- Connect the form to your SharePoint data source (in this case, “Employees”).


**Step 4: Customize the Status Dropdown**
1. Select the data card for the “Status” column in the form.
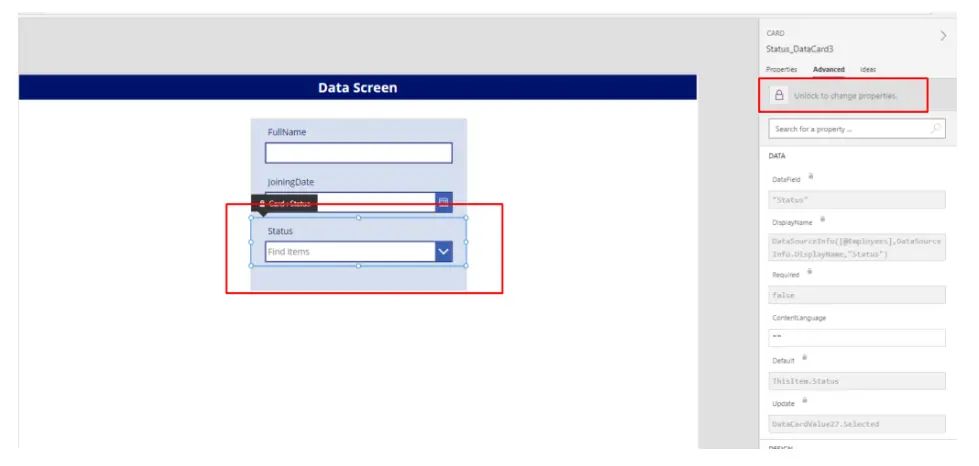
2. Rename the dropdown control to “Drop_status.”

3. To allow users to choose an option not listed in the SharePoint column, update the “Items” property of “Drop_status” with this formula:
					Ungroup(

    Table(

        {DropdownOptions:Choices(Employees.Status)},

        {DropdownOptions: ["Other"]}),

        "DropdownOptions")
**Step 5: Add a Text Input for Custom Status**
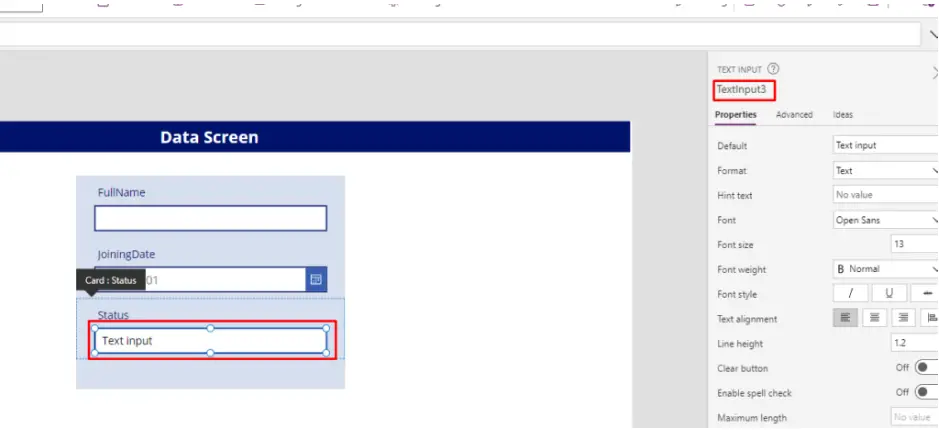
1. Insert a “Text Input” control into the same data card as the dropdown.


2. Rename the text input control to “Status_Textinput.”
3. Set the “Visible” property of “Drop_status” with this formula:
Self.Selected.Value <> "Other"

4. Set the “Visible” property of “Status_Textinput” with this formula:
! Status_TextInput.Visible

**Step 6: Add a Cancel Icon for Custom Status**
1. Insert a “Cancel” icon within the “Status_Textinput” control to allow users to cancel their input.

2. Set the “OnSelect” property of the cancel icon with this formula:
					Reset(Status_TextInput);

   Reset(Drop_Status)

3. Ensure that the cancel icon is only visible when the text input is visible by setting the “Visible” property to:
!Drop_Status.Visible

**Step 7: Update the Status Data Card**
1. To save data to SharePoint, set the “Update” property of the status data card with this formula:
					 If(Drop_Status.Selected.Value = "Other",

      {Value: Status_TextInput.Text},

      Drop_Status.Selected)

**Step 8:Finalizing Your PowerApps Custom 'Other' Dropdown with a Submit Button**
1. Insert a button for submitting the data.

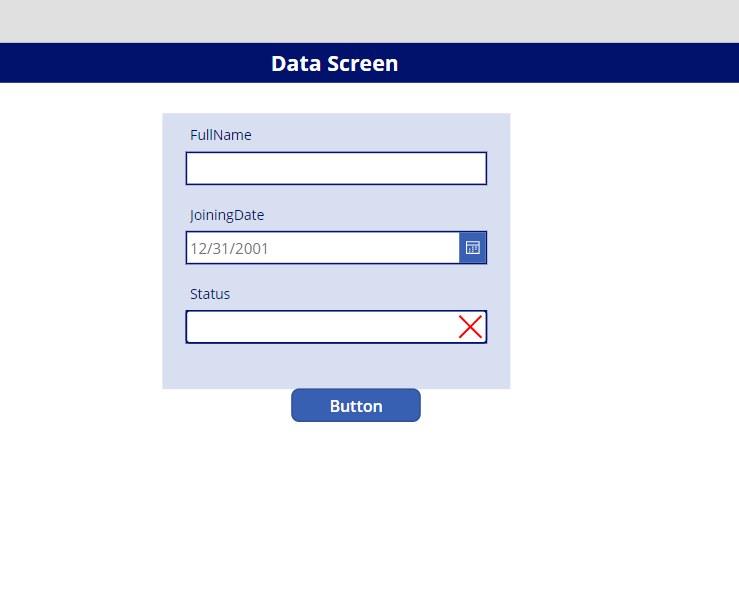

2. Set the “OnSelect” property of the button to:
SubmitForm(Employee_form)

3. Make sure to rename your form to “Employee_form” to match the code.

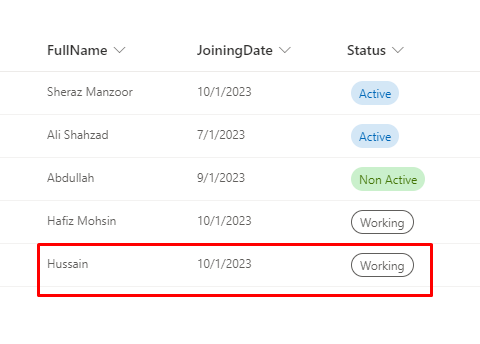
**Step 9: Show Success Notification and Reset the Form**
Add the following code to the “OnSuccess” property of the form:
					Notify("Data Has Been Saved Successfully", NotificationType.Success);

   ResetForm(Employee_form)

These steps will help you establish a PowerApps Custom ‘Other’ Dropdown in a Power App, letting users input data into a SharePoint list with flexibility.


Conclusion:
In conclusion, mastering the “Custom Dropdown ‘Other’ Option in Power Apps” technique greatly improves user interaction, making databases like SharePoint lists more user-friendly.
Additional Learning:
Read our blogs related to PowerApps


