PATCH A SharePoint Date & Time Column In Power Apps!
Overview:
This blog post provides a comprehensive step-by-step guide on how to PATCH a SharePoint Date & Time column in Power Apps. From creating a new SharePoint list to establishing a connection between your Power App and the designated data source, the tutorial ensures readers can seamlessly integrate and update data.
Open to the SharePoint list
Generate a new SharePoint list by creating a new custom list.
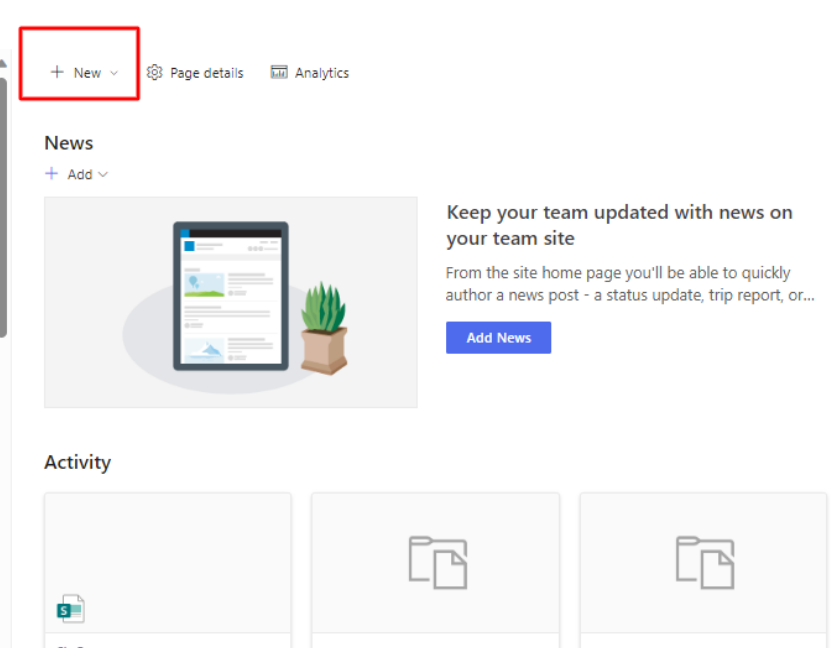
Choose Sharepoint list.
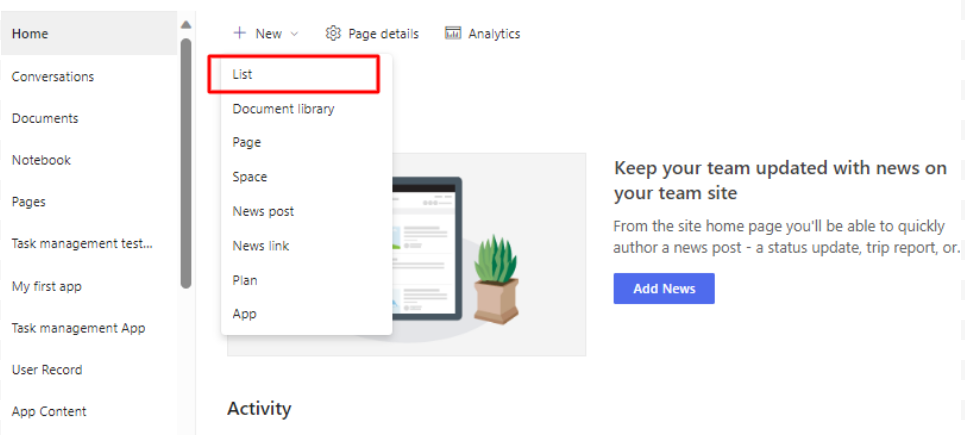
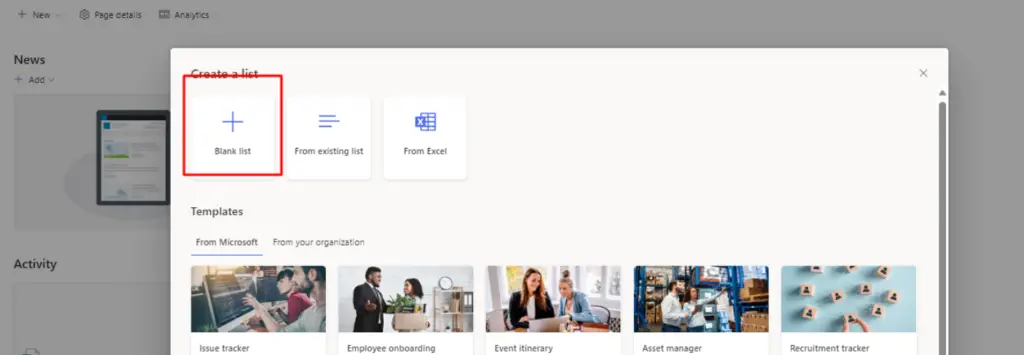
In the SharePoint interface, please choose the option to create a new blank list.
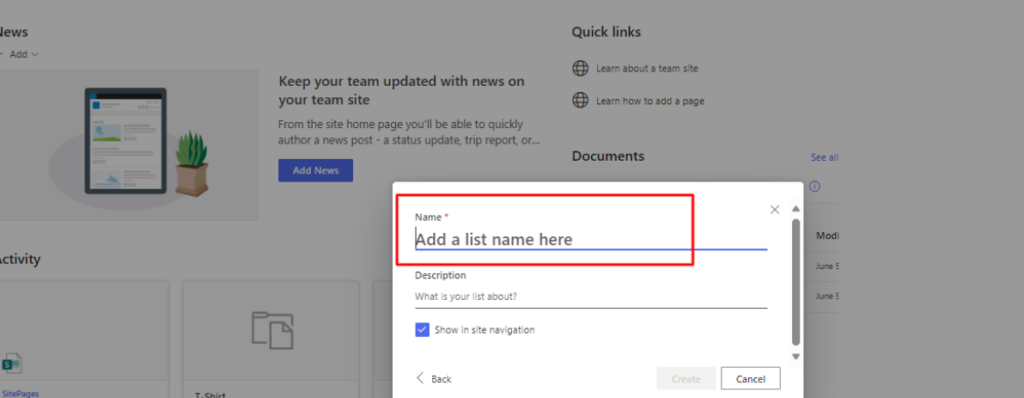
Kindly input the name of your SharePoint list into this designated field.
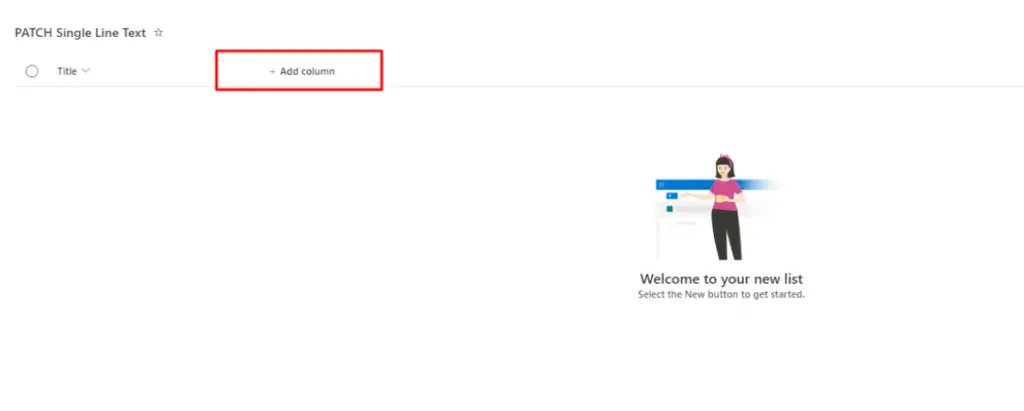
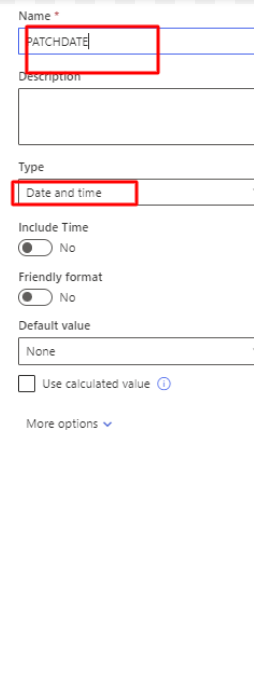
Create a new column utilizing the ‘Create New Column’ functionality.
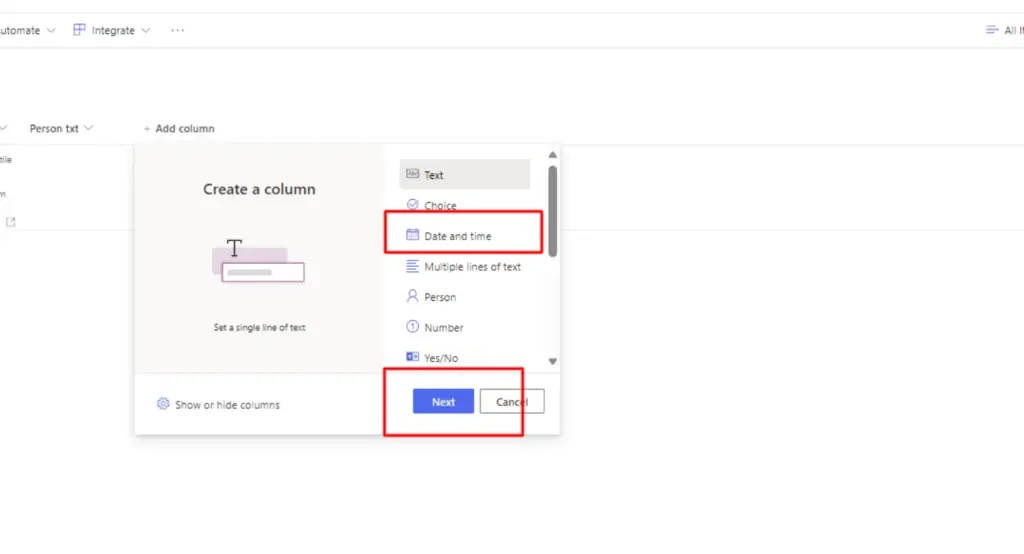
To create a DateTime column, kindly opt for the ‘Text’ option among the available choices, and then proceed accordingly.
Specify the column name to be utilized as the ‘Name’ property.
Developing a New Application Using Power Apps
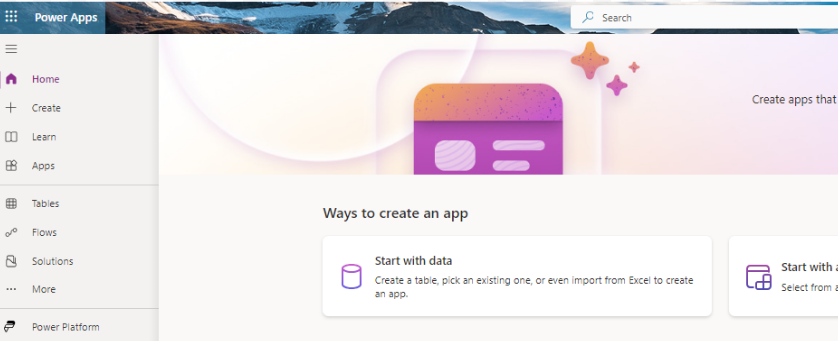
Proceed to the next step by creating your Power App .
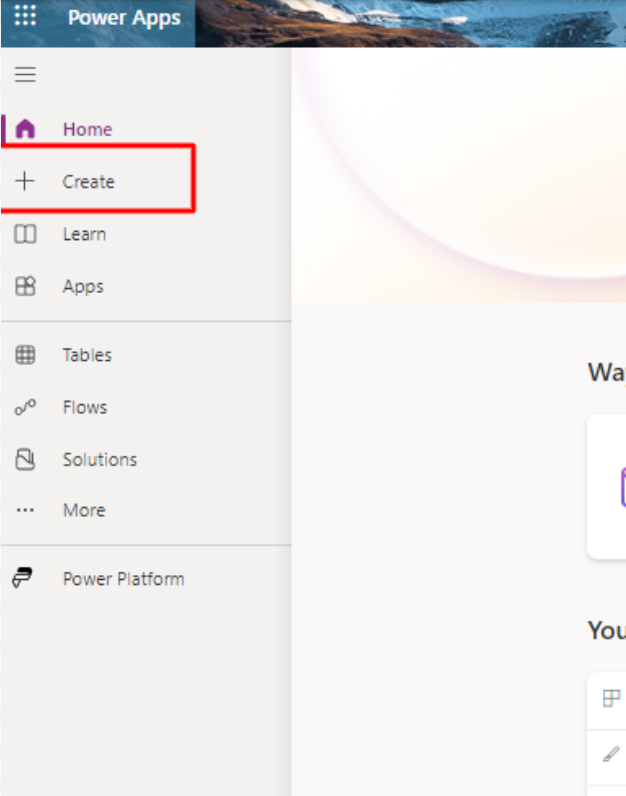
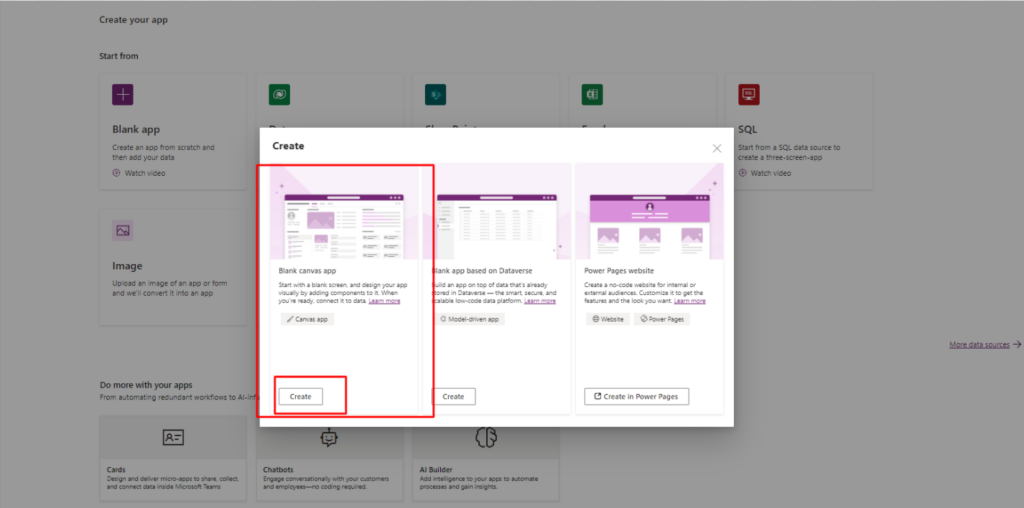
Please kindly click on the ‘Create’ button.
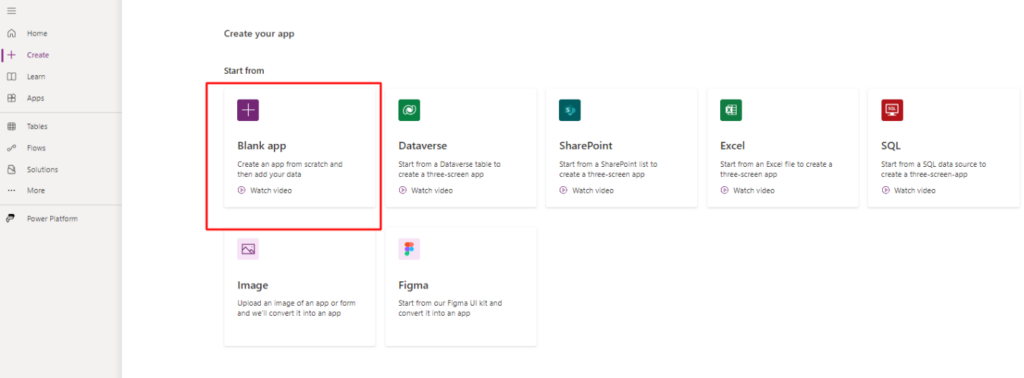
To commence the creation process, kindly opt for the ‘Blank App’ selection.
To commence the creation of your canvas application, please proceed by selecting the ‘Canvas’ option.
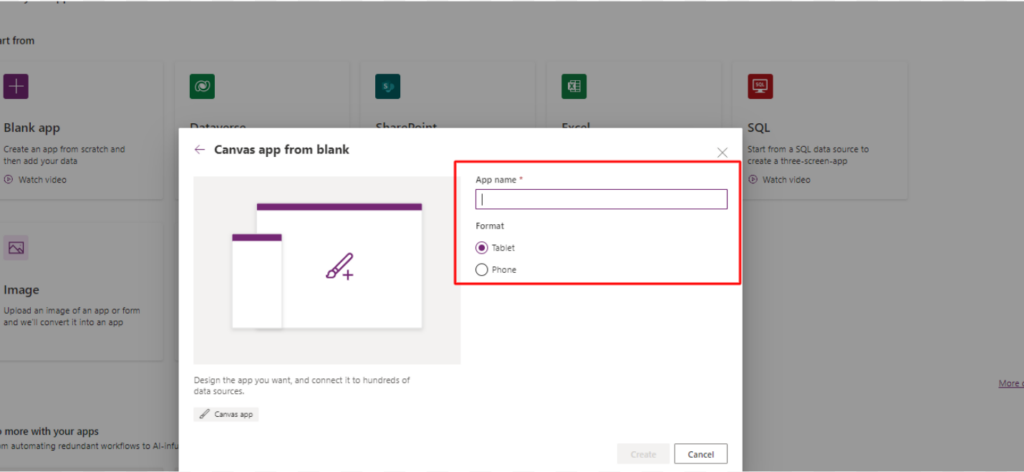
Kindly enter the application’s name in the designated field and also choose the desired formatting option, either ‘Tablet’ or ‘Phone’.
Tailor the application to align seamlessly with your specific requirements and preferences.
Establish a connection between your Power App and the designated data source.
To add a data source:
Within the Power Apps studio, navigate to the “Data” tab located in the left-hand menu.
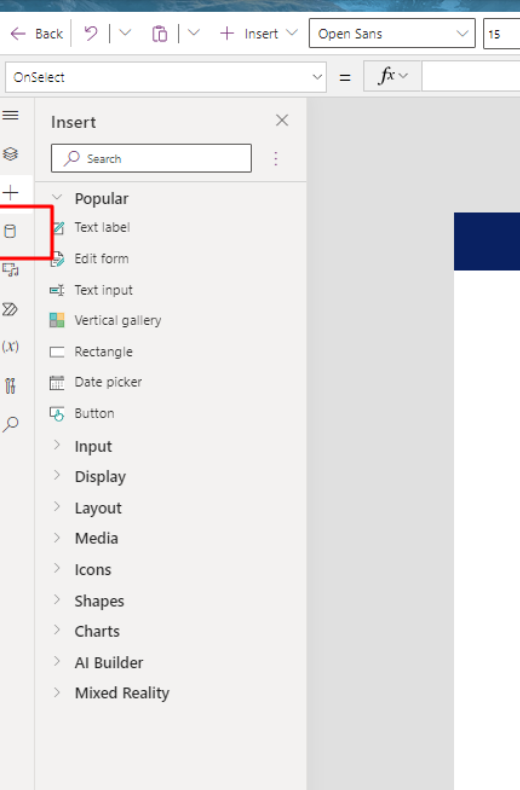
Choose a Data Source:
To access your data source, click on “Add a data source.” Common choices often include SharePoint.
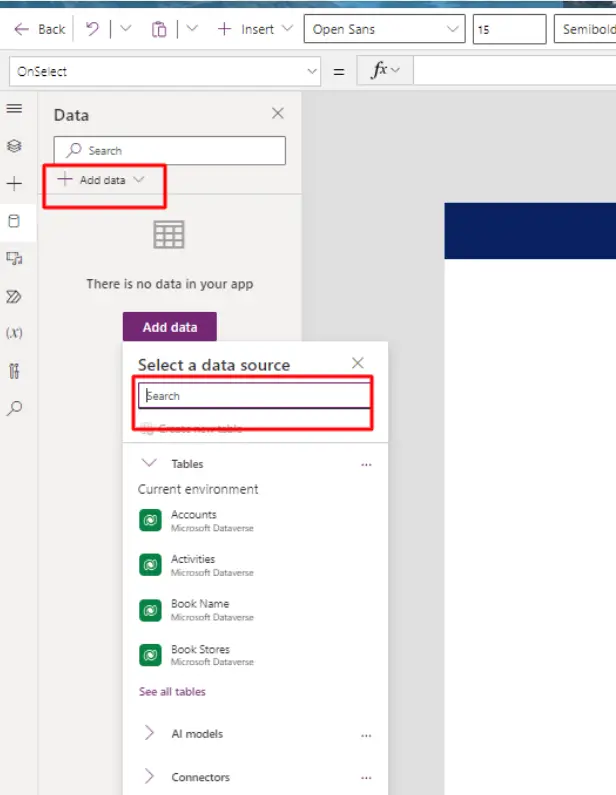
Establish Connection with Your Data Source:
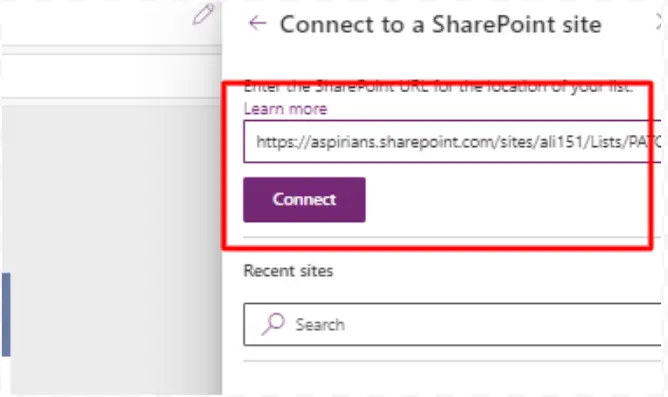
Depending on your selected data source, you will be required to furnish connection particulars, including the SharePoint site URL.
Copy the URL of your SharePoint list and paste it into the designated input field.
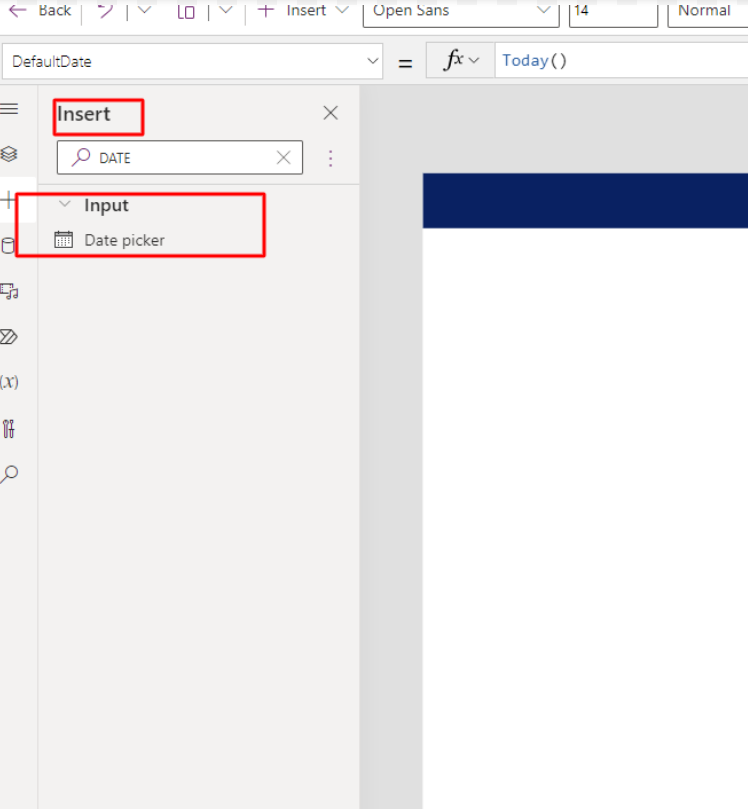
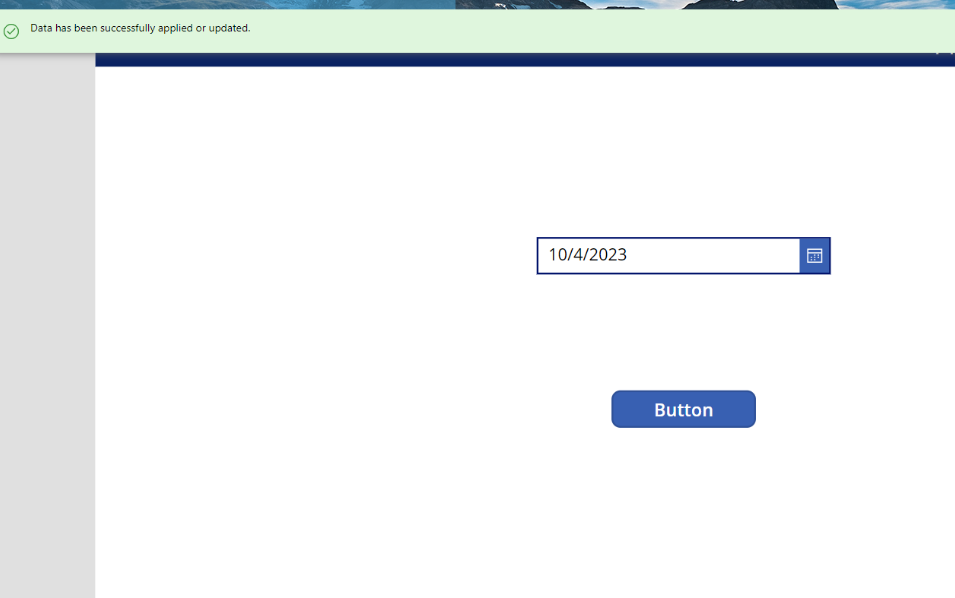
Integrate a Date Picker from the “Insert” section located on the left-hand side of your interface.
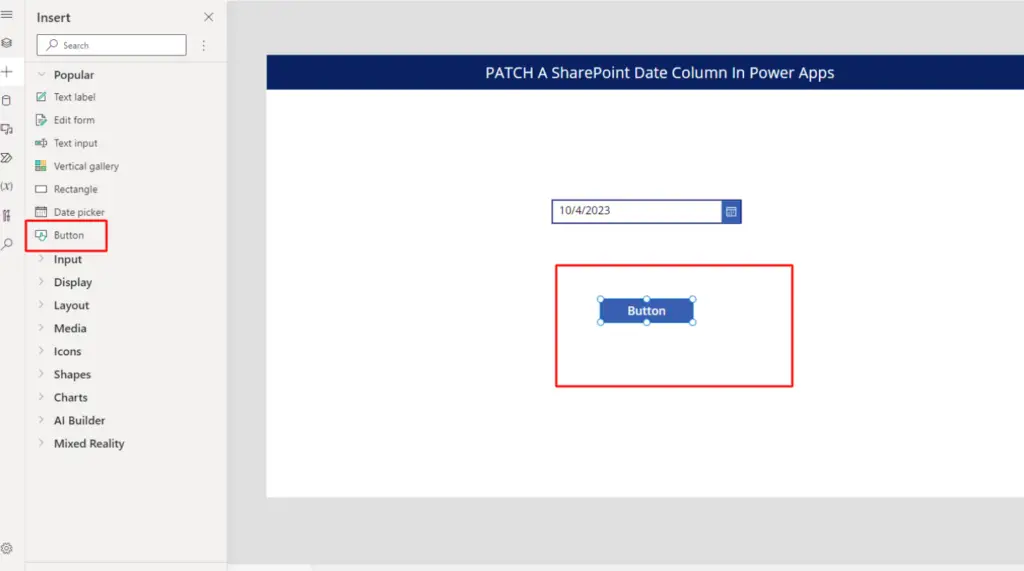
Incorporate a button to facilitate the execution of the ‘Patch’ operation.
Construct a PATCH function within the OnSelect property of the button.
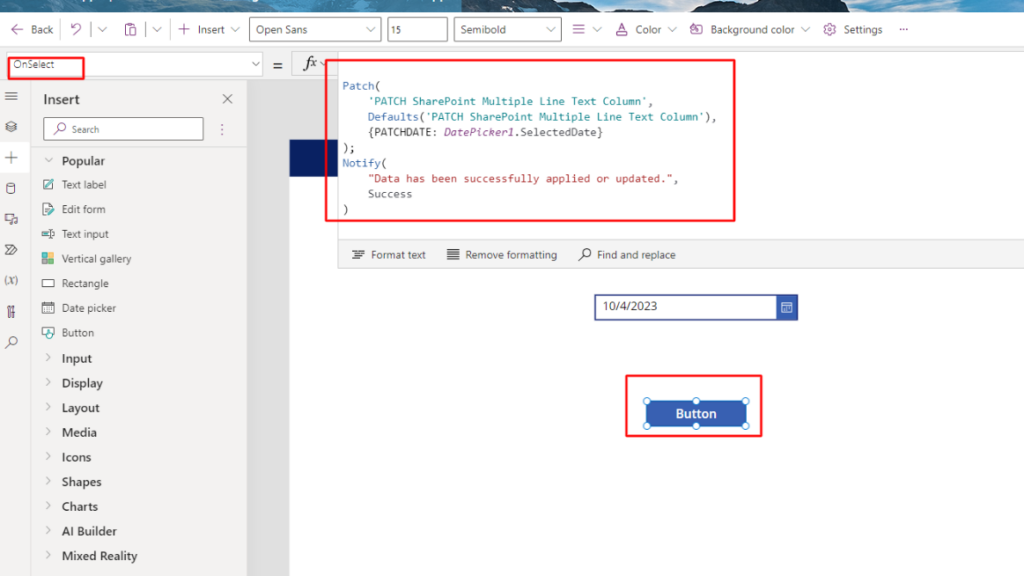
Patch Function Code
					Patch(

    'PATCH SharePoint Multiple Line Text Column',

    Defaults('PATCH SharePoint Multiple Line Text Column'),

    {PATCHDATE: DatePicker1.SelectedDate}

);

Notify(

    "Data has been successfully applied or updated.",

    NotificationType.Success

)
Reference: Patch function in Power Apps
Conclusion:
Mastering the ability to PATCH a SharePoint Date & Time column in Power Apps is crucial for efficient data management. By following the instructions outlined in this blog post, users can effortlessly connect, integrate, and modify their SharePoint data directly through Power Apps, streamlining their workflow and enhancing productivity.

