Group The Items In A Power Apps Gallery!
Overview:
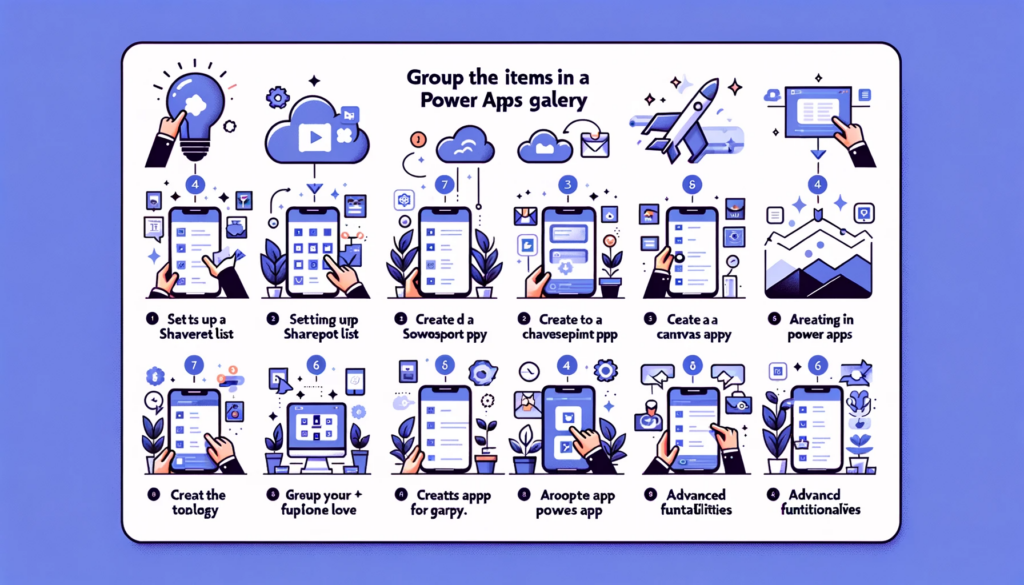
In this guide, we’ll demonstrate how to group items in a Power Apps Gallery. You’ll learn how to use SharePoint lists and PowerApps to enhance your data presentation, beginning with setting up a SharePoint list and concluding with advanced PowerApps functionalities. By implementing these steps, users can better organize and display their data in the Power Apps interface.
Introduction: The Appointments App
Setting Up Your SharePoint List:
1. Access SharePoint:First, head to your SharePoint site where you’ll be creating the list. Ensure you have the required permissions.
2. Create a New List:
- Start by clicking the “Settings” icon at the top-right.
- Choose “Site contents” to see everything on the site.
- Next, click “New” followed by “List.”

3. Naming Your List:
Now, give your list a relevant name. For example, if it’s for storing product info, name it “Products.”

4.Define List Columns:
- Here’s where you decide what information each product will have. For instance, you might have columns like “StartDate,” “FullName,” or “StreetAddress.”

Creating Your Canvas App:
1. Access PowerApps Portal:
Open the Power Apps portal and sign in
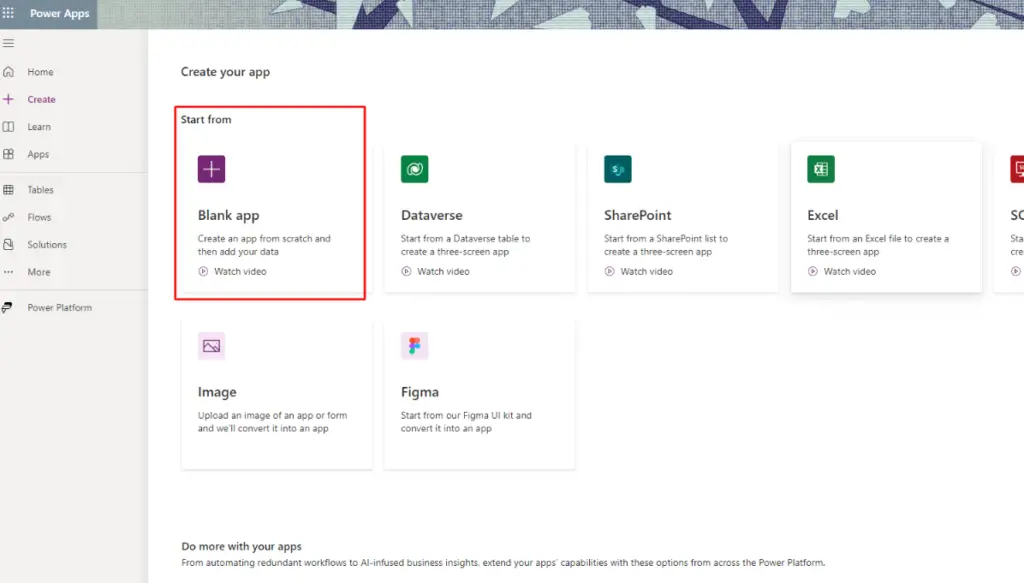
2. Start from Scratch::
Choose “Create” and then “Canvas app from blank.”
3. Designing the Interface:
Begin crafting your app. You’ll want:
- A clear and readable text label as your header.
- Connection with your SharePoint list (follow the steps provided).
- A gallery that shows your data (add this to your screen).

Please select the ‘Add Data’ button.

Enter your query into the SharePoint search bar.

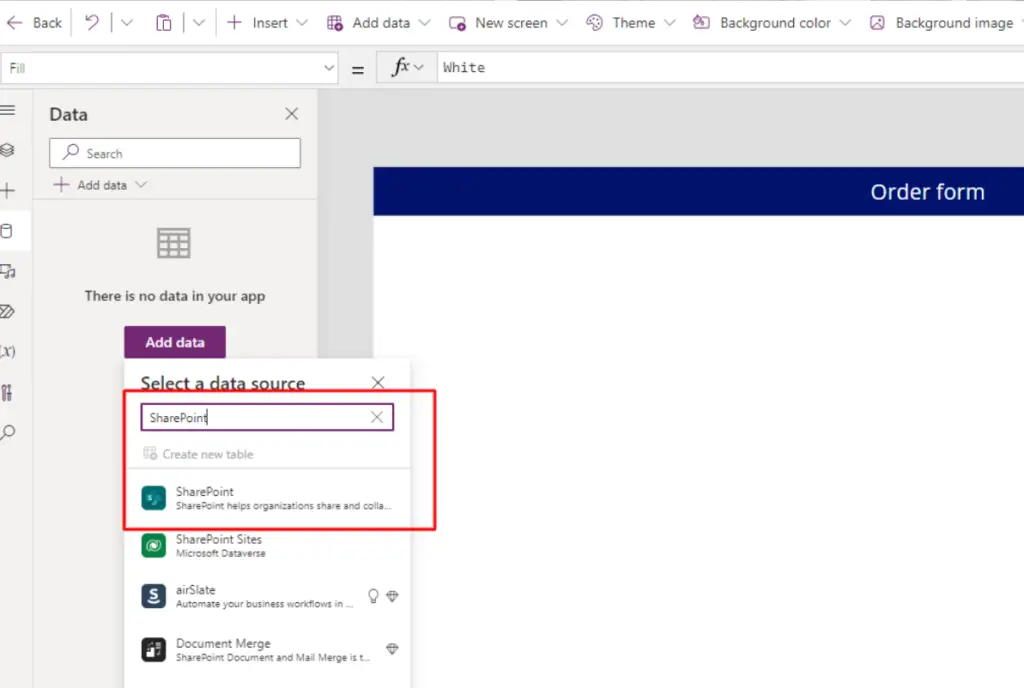
Please enter the name of your desired list for retrieval.

4. Customize Gallery Content:
To show data in the gallery, add three text labels:
- The first should have the input property:
ThisItem.FullName - The second:
ThisItem.StartDate - And the third:
ThisItem.StreetAddressInsert a gallery into the screen and select “Your data source name” as the DataSource.
Add a text label for the header
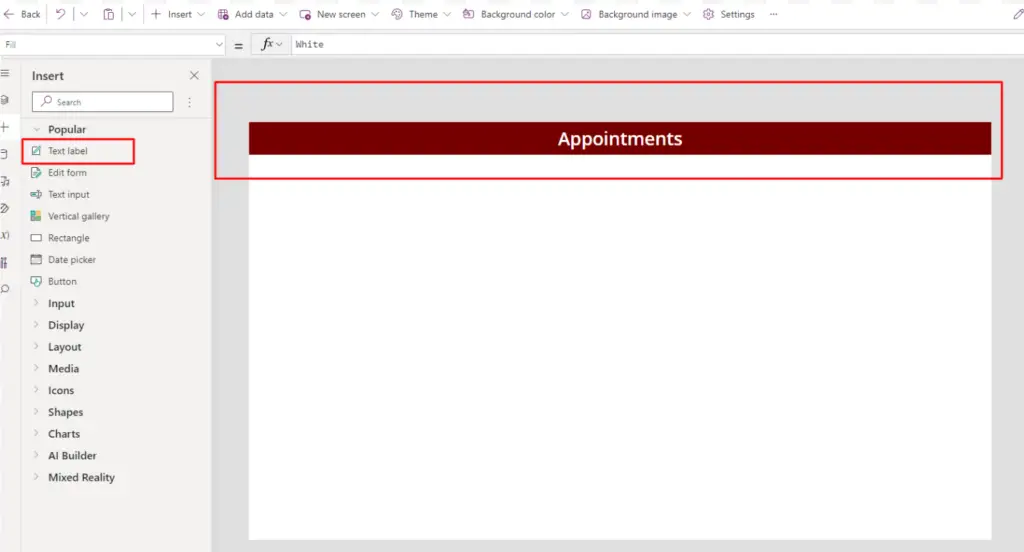
Please incorporate a vertical gallery from the insertion options.

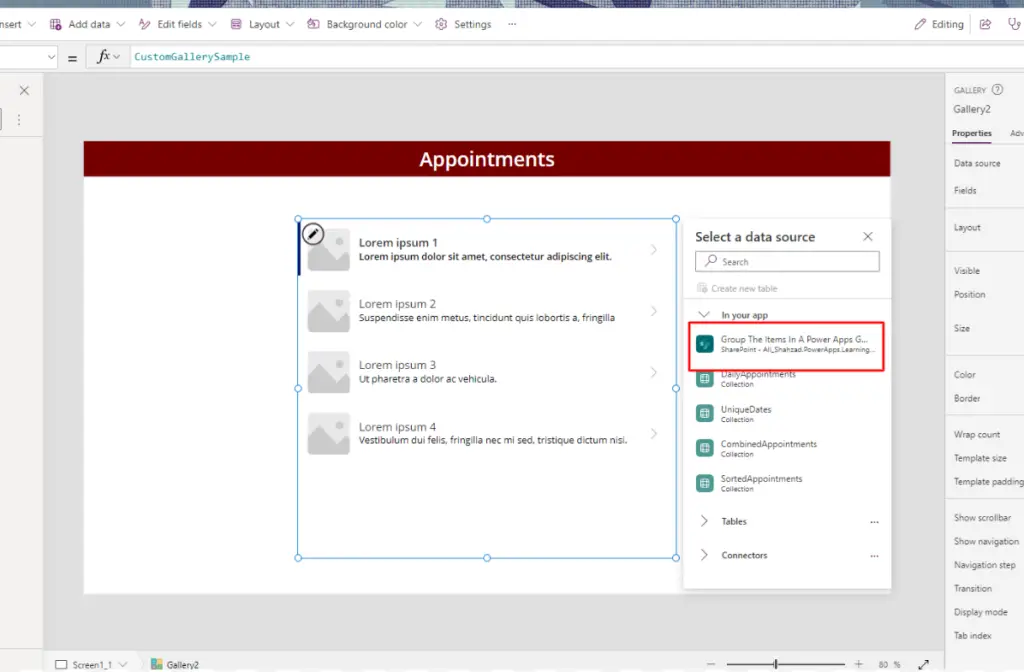
Integrate your data source with the gallery for seamless data visualization and management.
Add three text labels for show data in gallery.

First label input property is.
					ThisItem.FullName

Second label input property is.

ThisItem.StartDate

And third input property is

ThisItem.StreetAddress

Advanced PowerApps Functionalities:
Here’s where things get more advanced. You’ll be adding codes to buttons for specific functionalities like grouping items and displaying them properly.
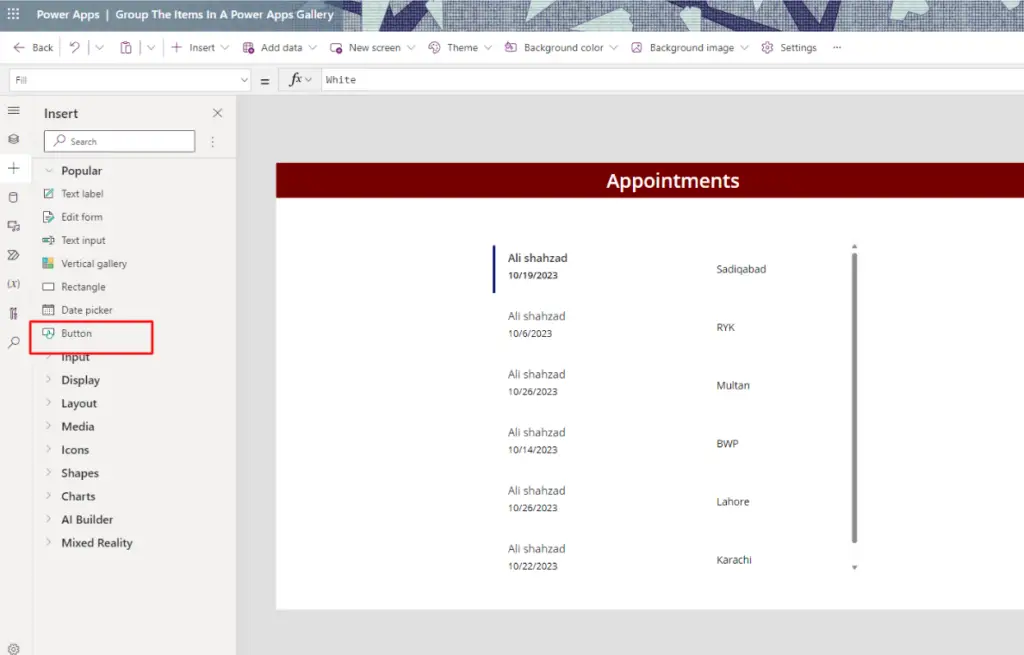
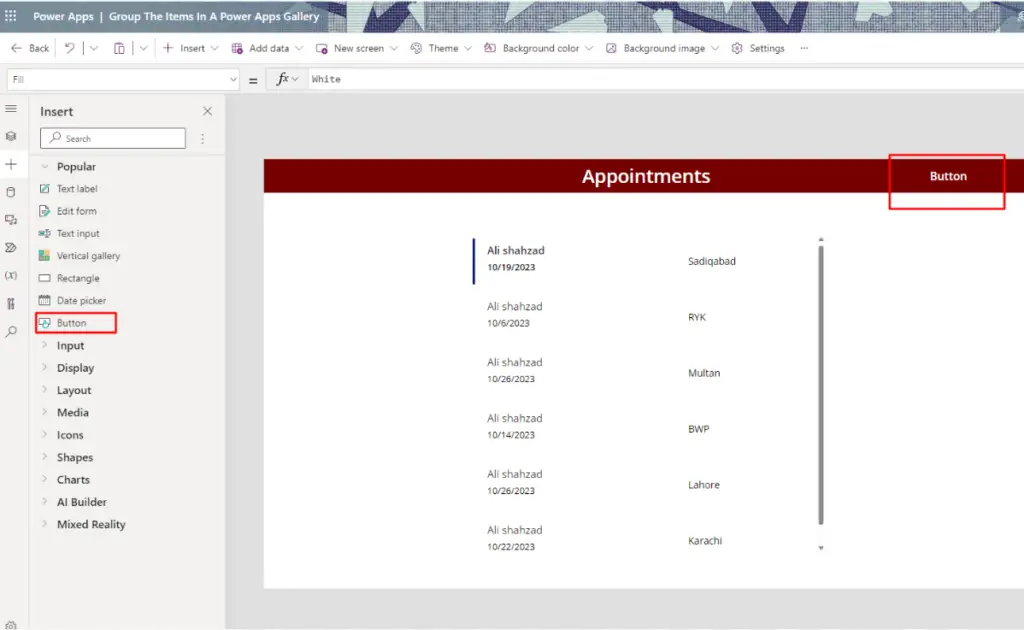
1. Button for Testing:
Make a new button and place it at the top of the title bar. We’re using this button for testing the code, and we’ll remove it before we share the app.
Please integrate this code into the ‘OnSelect’ event of the button
					ClearCollect(

DailyAppointments,

    AddColumns(

        ShowColumns(

            'Group The Items In A Power Apps Gallery',

            "FullName",

            "StartDate",

            "StartDateTime",

            "StreetAddress"

        ),

        "Level",

        2

    )

);
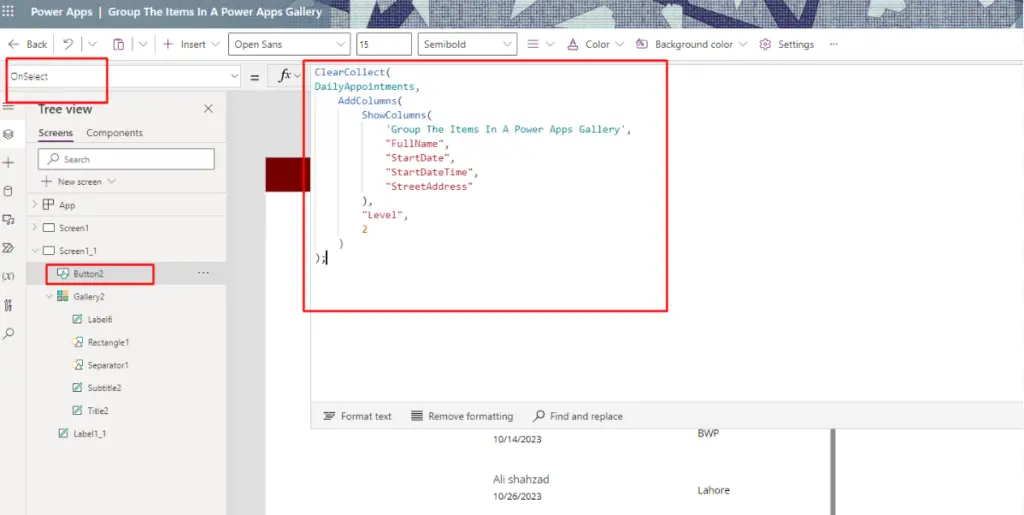
When you click the button, it creates a list of daily appointments in a specific order. We also add a ‘level’ column to distinguish between headings [1] and items [2] in the list. You’ll see why we do this shortly.

Next, we want to figure out a special list of appointment dates to use as headers in our grouped gallery. To do this, we add the following code to the button’s action. We use the DISTINCT function to make sure each date appears only once in the list, removing any duplicates from the “StartDateOnly” column. The result of the DISTINCT function is a list with one column, and we rename this column to “StartDateOnly.” Additionally, we create a new column called “Level” to identify each date as a header in our gallery.
					// Create a collection of all daily appointments


ClearCollect(

DailyAppointments,

    AddColumns(

        ShowColumns(

            'Group The Items In A Power Apps Gallery',

            "FullName",

            "StartDate",

            "StartDateTime",

            "StreetAddress"

        ),

        "Level",

        2

    )

);

//// *** NEW CODE ****

// Create a collection of all unique startdateonly values

ClearCollect(

    UniqueDates,

    AddColumns(

        RenameColumns(

            Distinct(

                'Group The Items In A Power Apps Gallery',

                StartDate

            ),

            "Value",

            "StartDate"

        ).StartDate,

        "Level",

        1

    )

);

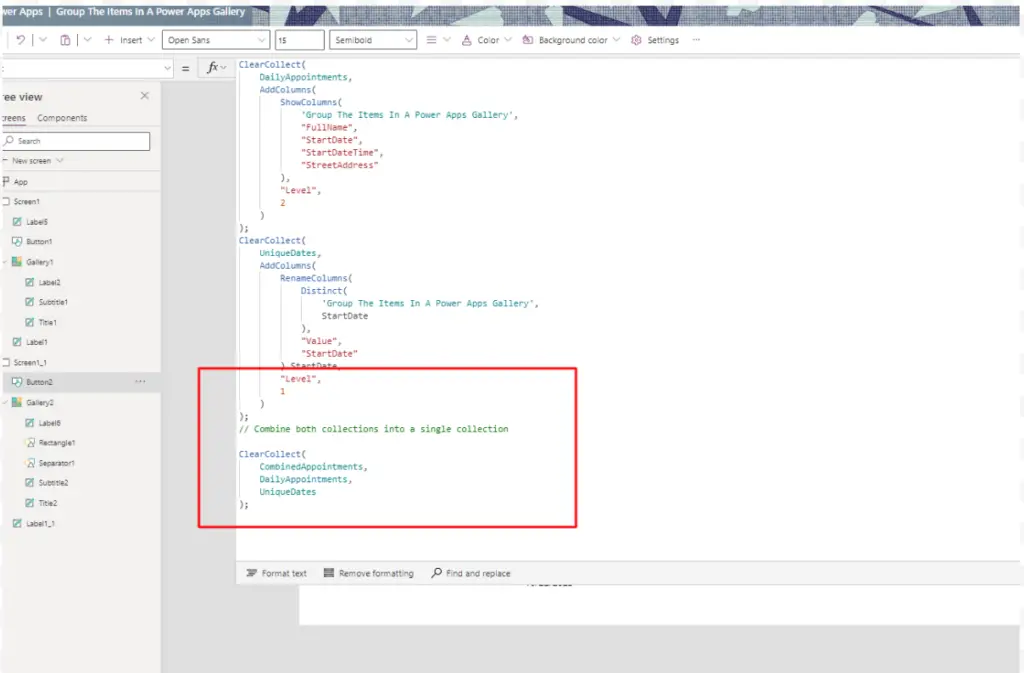
Combine Group Headers And Group Items Into A Single Collection
The following code part is straightforward. We’re making a single collection named
” CombinedAppointments ” that brings together the group titles and items into a single table.
					ClearCollect(

    DailyAppointments,

    AddColumns(

        ShowColumns(

            'Group The Items In A Power Apps Gallery',

            "FullName",

            "StartDate",

            "StartDateTime",

            "StreetAddress"

        ),

        "Level",

        2

    )

);

ClearCollect(

    UniqueDates,

    AddColumns(

        RenameColumns(

            Distinct(

                'Group The Items In A Power Apps Gallery',

                StartDate

            ),

            "Value",

            "StartDate"

        ).StartDate,

        "Level",

        1

    )

);//// *** NEW CODE ****

// Combine both collections into a single collection

ClearCollect(

    CombinedAppointments,

    DailyAppointments,

    UniqueDates

);
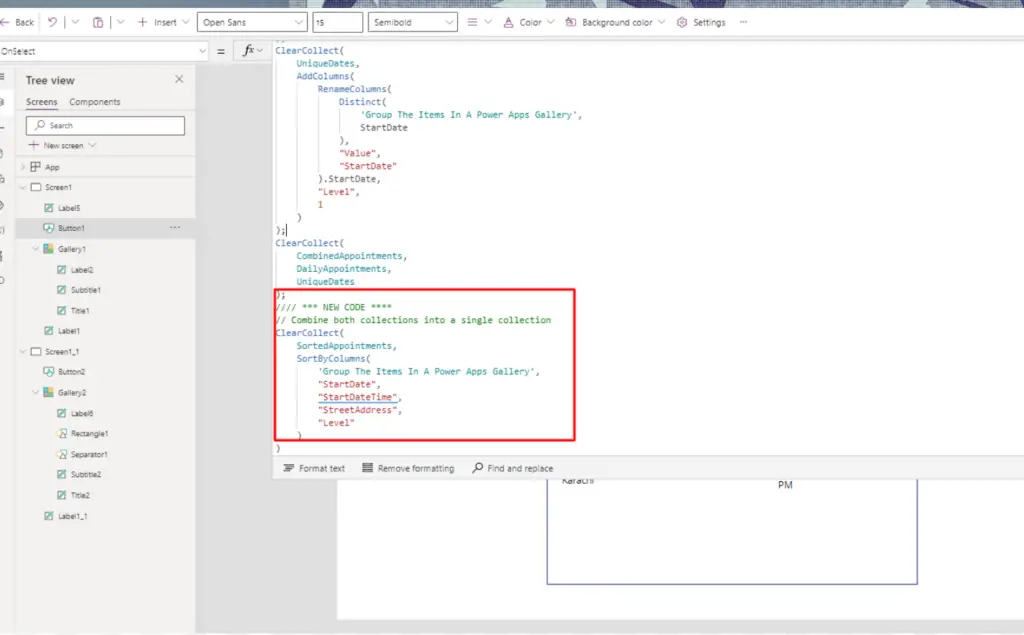
2. Grouping and Sorting:
Now, add the given code to the button’s action. This will let you group daily appointments by date and sort them.
The final thing we need to do is arrange the mixed-up collection in a way that puts the section titles at the top, followed by the items within each section. We can do this using the “Level” column we’ve been using. Just remember, a section title has a number 1, and an item inside a section has a number 2.
					ClearCollect(

    DailyAppointments,

    AddColumns(

        ShowColumns(

            'Group The Items In A Power Apps Gallery',

            "FullName",

            "StartDate",

            "StartDateTime",

            "StreetAddress"

        ),

        "Level",

        2

    )

);

ClearCollect(

    UniqueDates,

    AddColumns(

        RenameColumns(

            Distinct(

                'Group The Items In A Power Apps Gallery',

                StartDate

            ),

            "Value",

            "StartDate"

        ).StartDate,

        "Level",

        1

    )

);//// *** NEW CODE ****

// Combine both collections into a single collection

ClearCollect(

    CombinedAppointments,

    DailyAppointments,

    UniqueDates

);//// *** NEW CODE ****

// Sort the combined collection


ClearCollect(

    SortedAppointments,

    SortByColumns(

        'Group The Items In A Power Apps Gallery',

        "StartDate",

        "StartDateTime",

        "StreetAddress",

        "Level"

    )

)
Change The Gallery Datasource To The Grouped Collection
Now that we’ve got the data ready, we’ll put all the sorted appointments into the gallery.

3. Update Your Gallery:
After grouping and sorting your data, you need to display it in the gallery. Make sure you update the data source of the gallery.
We need to change how the gallery looks to show that the appointments are organized together.
Insert a label

Please implement the code to display the current month in the designated label.”

Conclusion:
With the steps above, you can easily group items in a Power Apps Gallery. This improves data visualization, making information clearer and more organized. By combining SharePoint lists and PowerApps, users can create powerful, easy-to-read apps.
