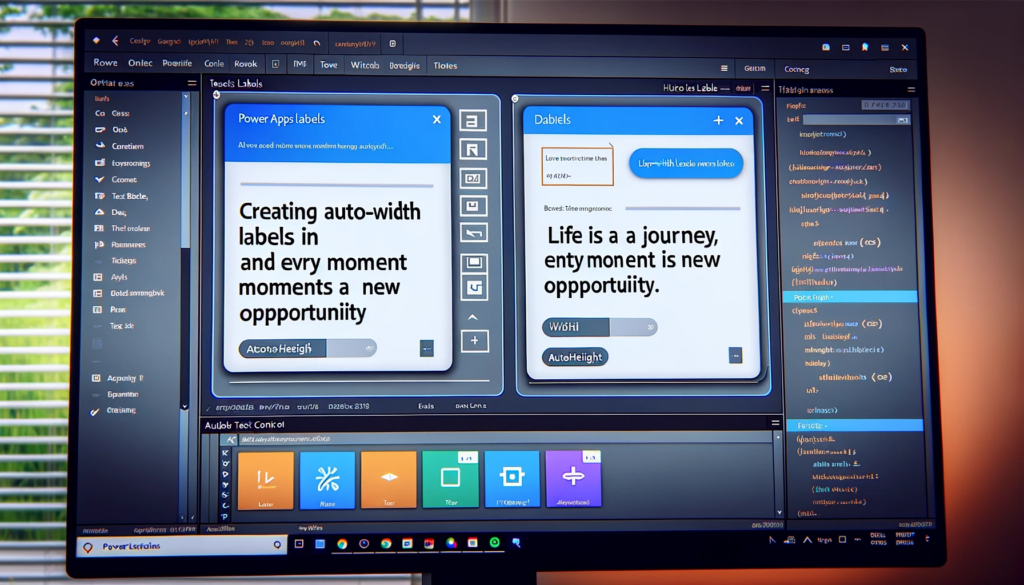
Creating a Custom Auto-Width Label for Your Power Apps
This methodology employs a sophisticated technique for ascertaining the appropriate width of a label. It entails the generation of an HTML control bearing identical text content as the label, utilizing the same font type and text size attributes. Subsequently, the text within the HTML control is rotated by 90 degrees, and the Auto Height property of the HTML text control is configured to operate in an automatic mode. The resulting height of the HTML control serves as a reliable indicator of the label’s dynamically determined width.
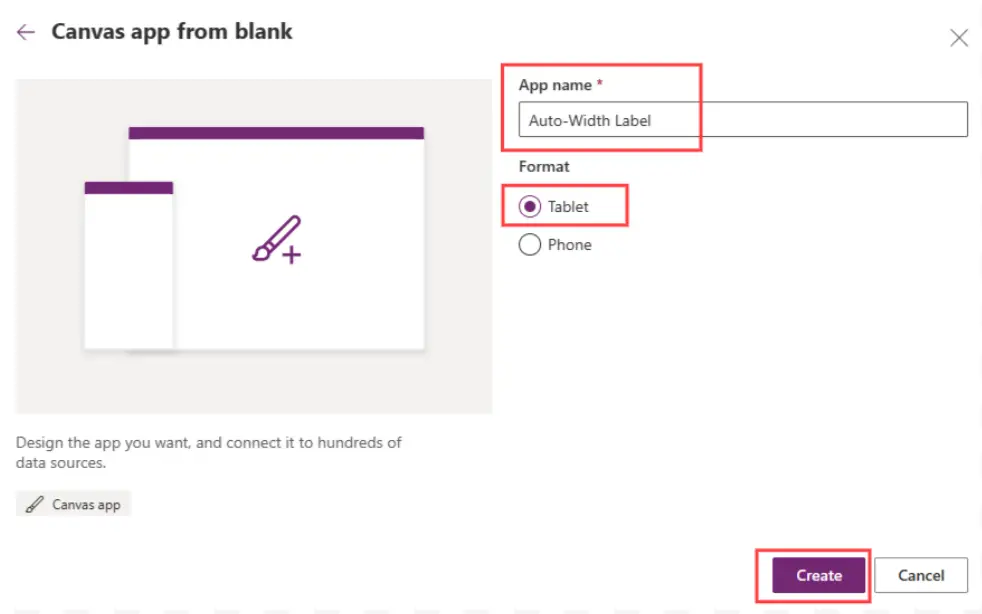
Create a New Canvas App:
Go to the Power Apps portal and sign in.
Click on “Create” and select “Canvas app from blank.”

Develop an application titled ‘App Name’ and optimize it for tablet devices in the desired format.
Please Insert two “Text Labels” to the screen.
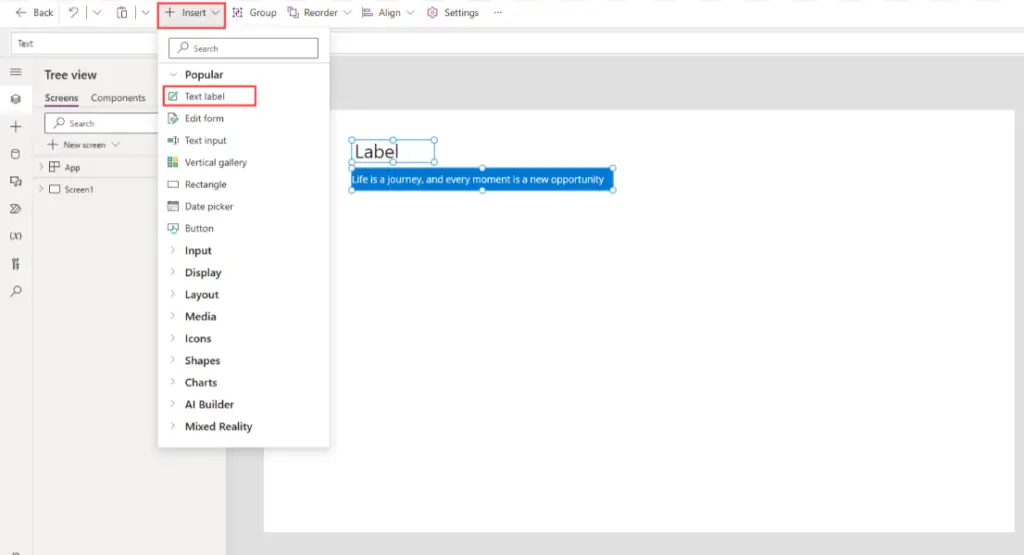
Please input the following words into the “Text” property of the “Label2”.
"Life is a journey, and every moment is a new opportunity"
Additionally, kindly extend the application of these attributes to the recently introduced label.
					Font: Font.'Open Sans'
Size: 13
PaddingBottom: 0
PaddingLeft: 0
PaddingRight: 0
PaddingTop: 0
Add an HTML text control with the 'AutoHeight' feature enabled
Generate “HTML text” and “Text Label” elements and position it within the user interface.
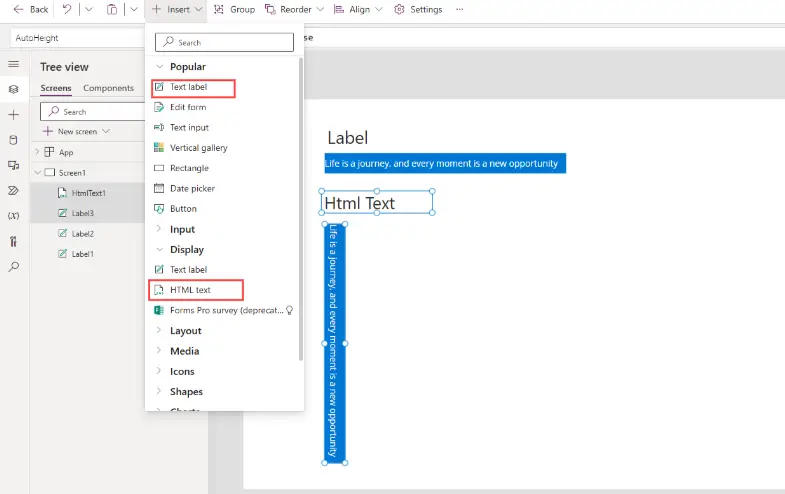
Enable the ‘AutoHeight‘ property for the HTML text control, which results in the control dynamically adjusting its height to accommodate the content within.

true
Implement these values into the HTML text control properties to ensure consistent formatting alignment with the corresponding label.
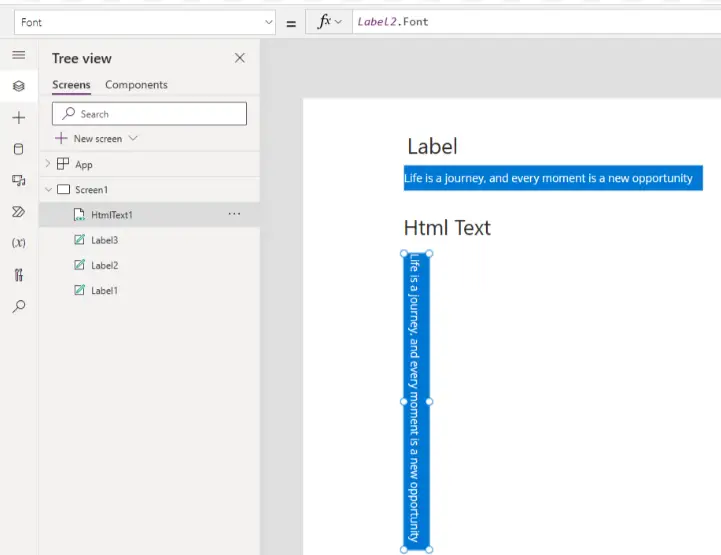
					Font: Label2.Font
Size: Label2.Size
PaddingBottom: 0
PaddingLeft: 0
PaddingRight: 0
PaddingTop: 0
We intend to utilize HTML and CSS code to achieve text rotation and establish its initial placement at the upper left corner of the element.
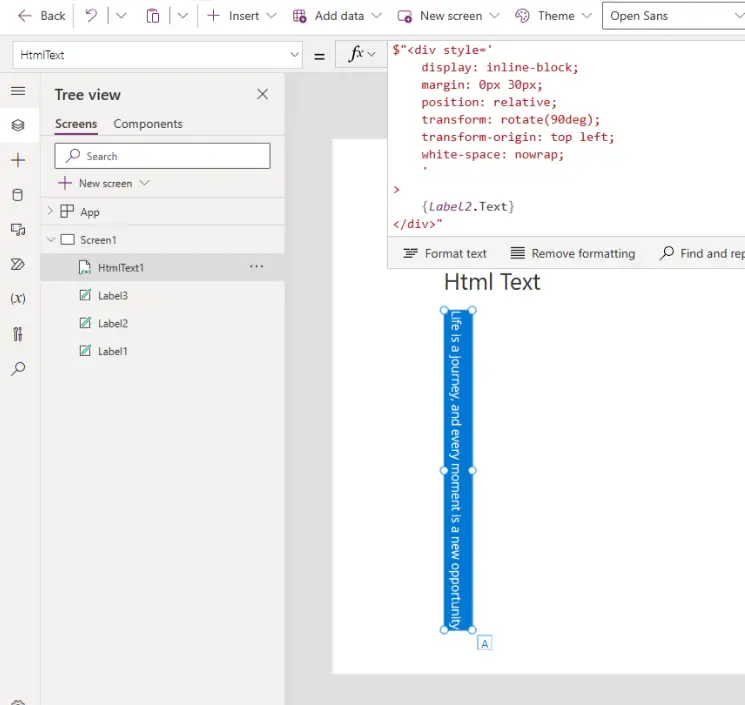
Please insert the provided code into the HTMLText property of the HTML text control. The code utilizes Power Fx $-string notation. It is essential to verify that the label enclosed within the curly braces { } corresponds to the app’s label name.
					$"<div style='margin: 0px 30px;position: relative'>
    {Label2.Text}
</div>"
Adjust the label width to match the height of the HTML text control
It is reasonable to infer that the width of the auto-width label should be equivalent to the height of the HTML text control.
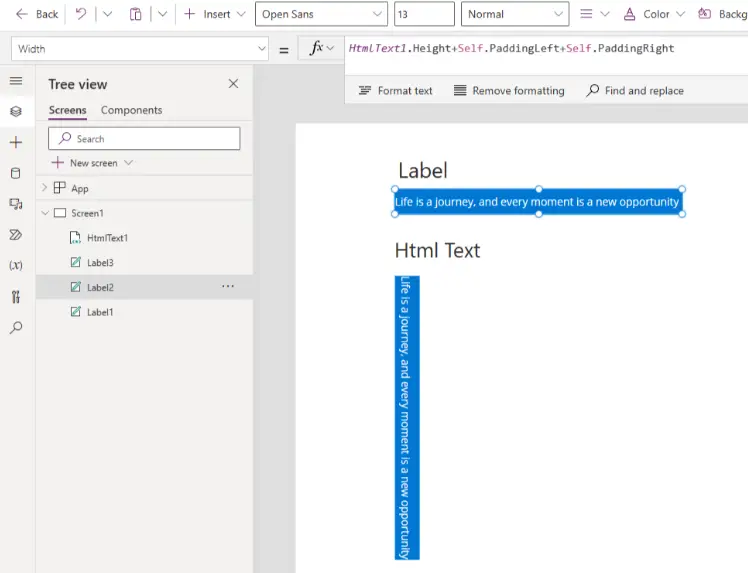
Please implement the following code within the Width property of the auto-width label. Additionally, we have included a reference to the padding properties of the label in the event that there is a need to incorporate additional spacing on either the left or right side.
HtmlText1.Height+Self.PaddingLeft+Self.PaddingRight
The Conclusive Appearance of this Application!

