Applying Updates to a SharePoint Currency Column using the Patch Function in Power Apps!
Overview of SharePoint Currency Column Patching:
Master the SharePoint Currency Column Patch in Power Apps with this comprehensive tutorial.
Setting Up SharePoint:
- Navigation: Start by logging into the Sharepoint portal and proceed to your preferred site collection.
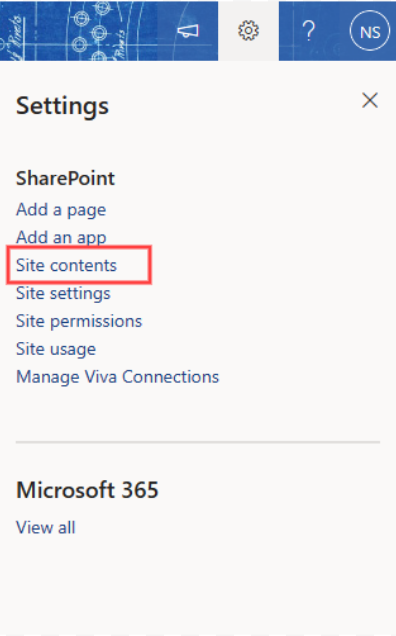
- Access Site Contents: Look for the ‘Gear’ icon at the top right. After selecting it, choose ‘Site Contents’ to discover how to update the SharePoint currency column using PowerApps.
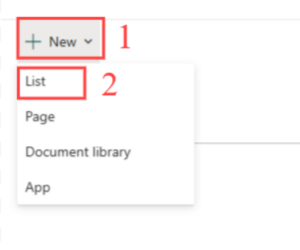
- Creating a List: Within the content page, select ‘New’ and then ‘List’.
Preparing the SharePoint List for Patching:
- Creating a Blank List:
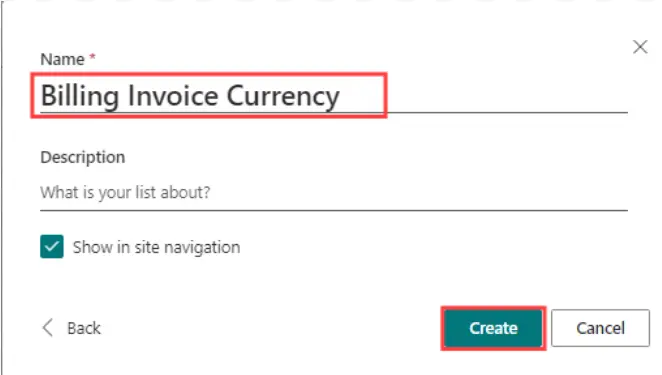
- Go to the ‘Create a SharePoint list’ page. From here, pick the ‘Blank list’ option, give your list a name, offer a brief description, and click ‘Create’.
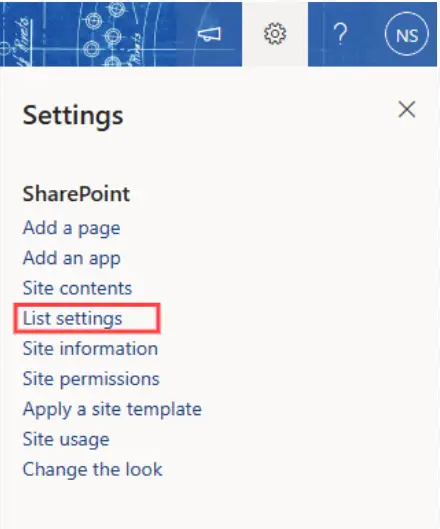
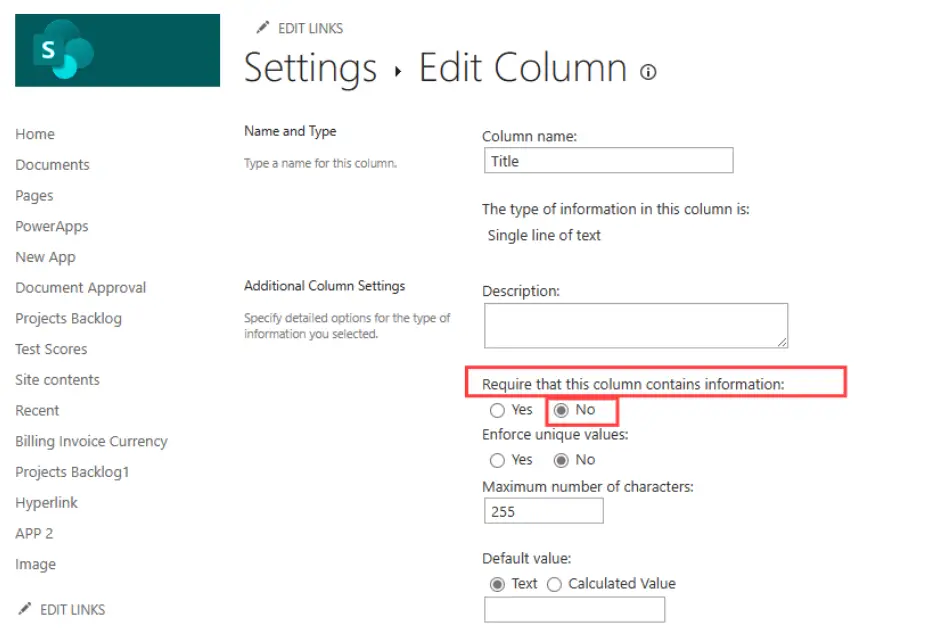
- Title Configuration: It’s beneficial to mark the “Title” as “Not Required”. For this, navigate via the ‘Gear’ icon, access ‘List Settings’, and head to the column section. Here, modify the ‘Title’ option’s settings to “No”, and don’t forget to save your changes.
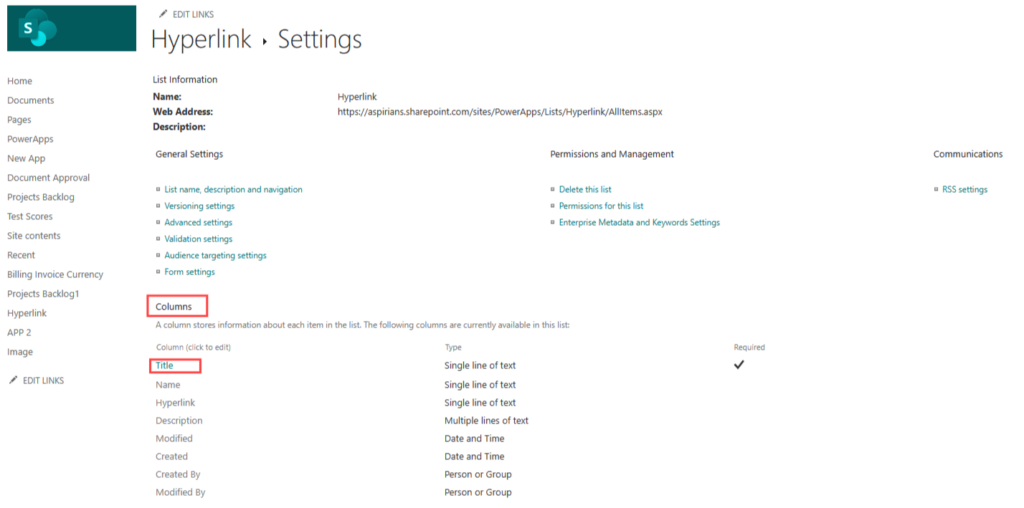
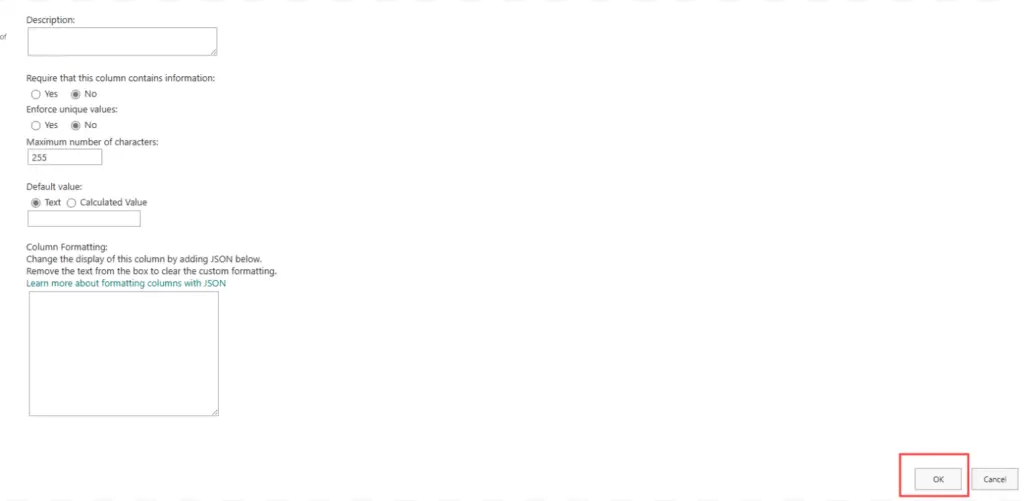
Please proceed by choosing the “Save” option.
Power Apps: Enhancing SharePoint List for Currency Patching:
Adding Columns:
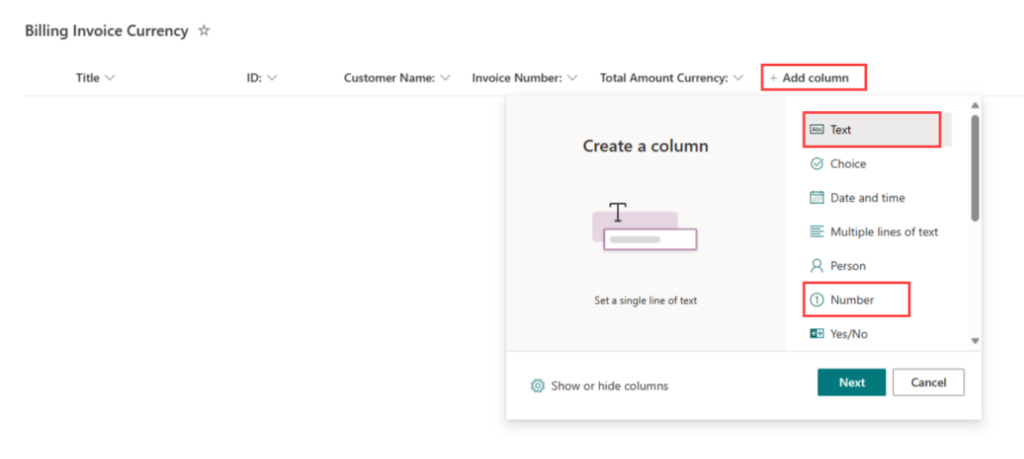
Add more data fields by selecting the ‘+Add column’ function. Include essential columns and for “Total Amount Currency,” choose the dollar sign “($)” symbol.

Diving into Power Apps:
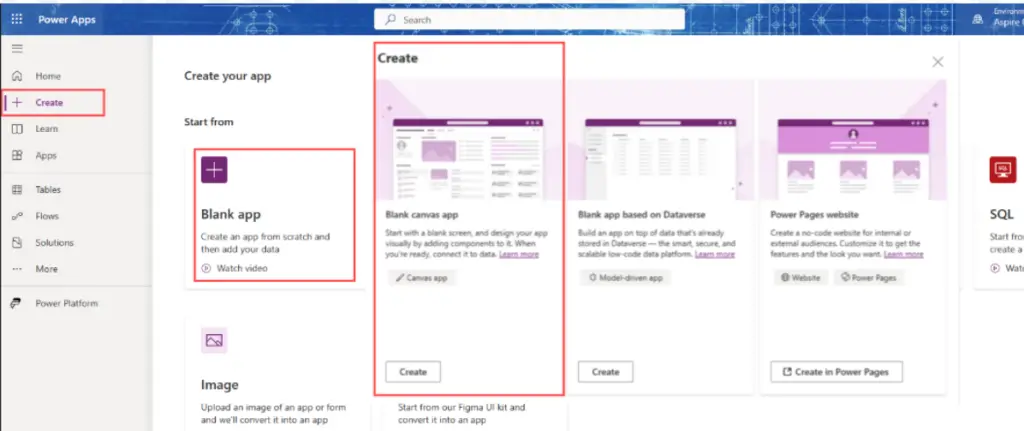
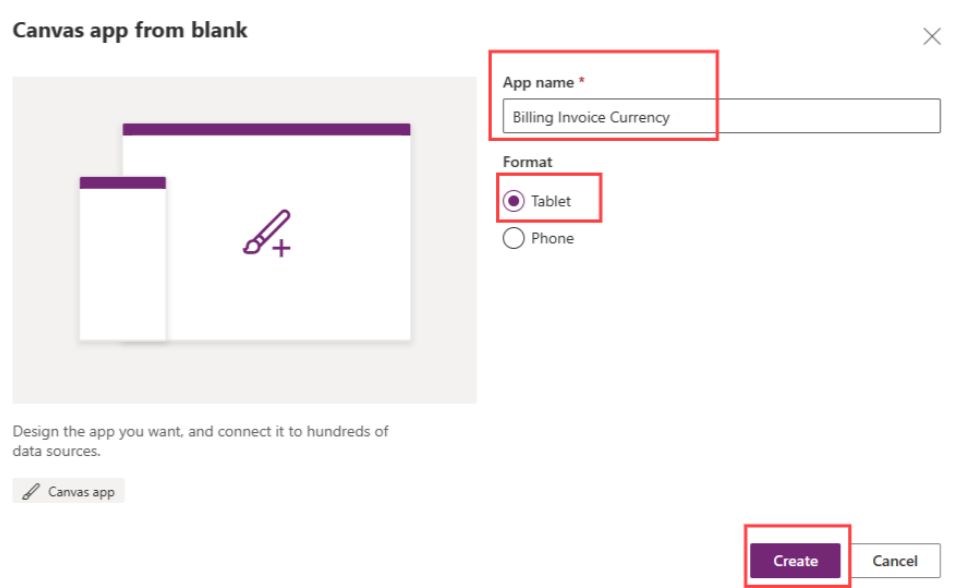
- Portal Access: Open the Power Apps portal. Post-login, go for “Canvas app from blank” under the “Create” option.
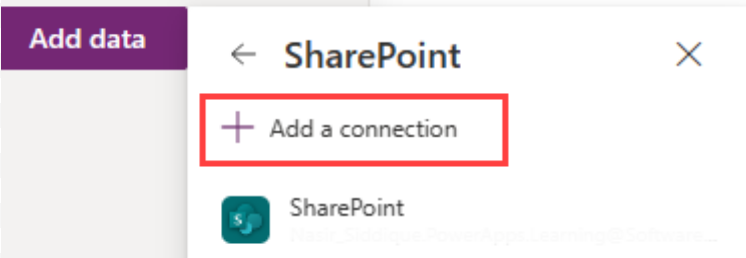
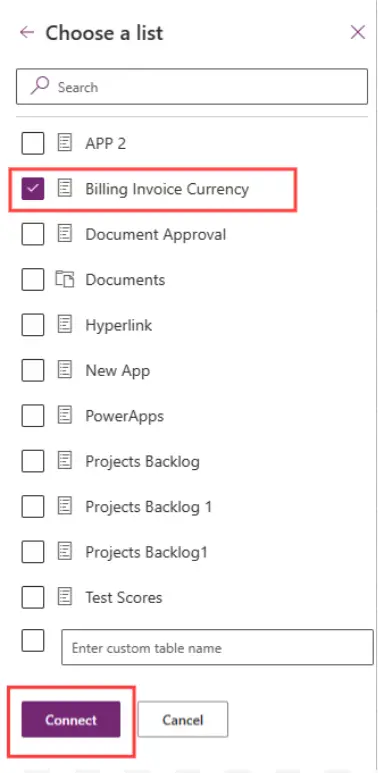
- Naming & Data Setup: Label your app and configure it for tablet use. In the “Data” section, select “Add data”, then look for and choose “SharePoint”.
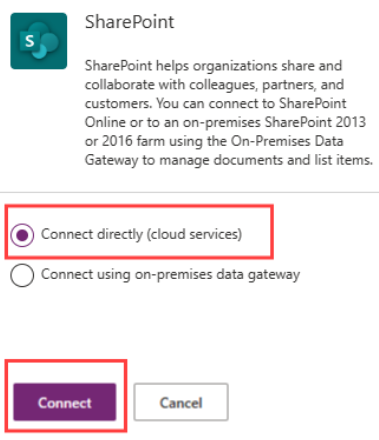
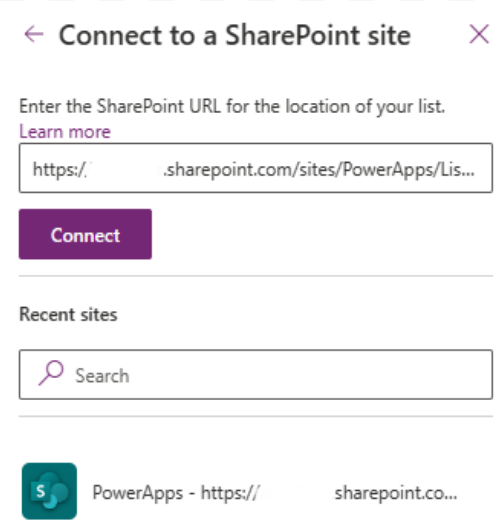
As you move forward, remember to link your SharePoint dataset to our canvas app. This connection is essential to update the SharePoint currency column using the patch function.
Designing the Canvas App Interface:
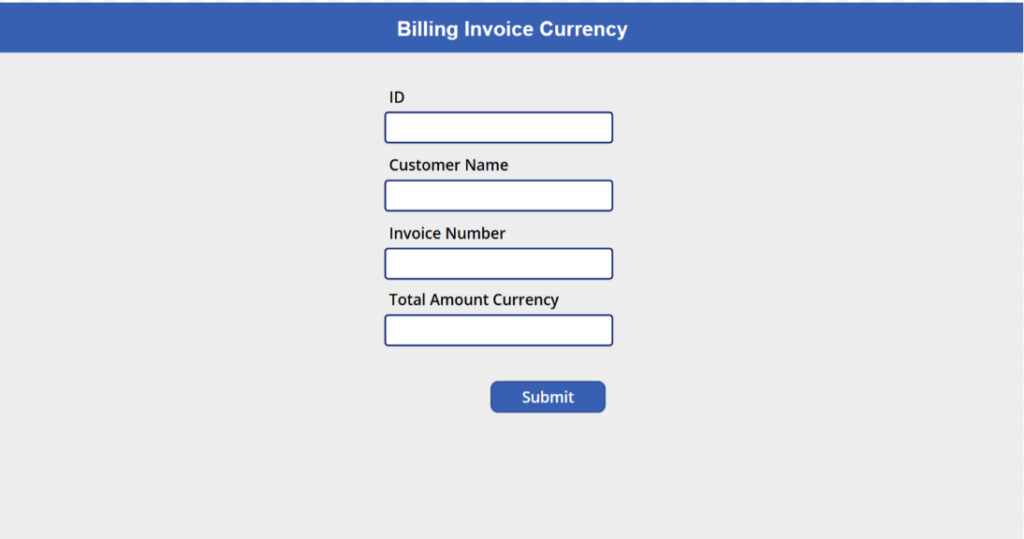
- Initial Setup: Begin by crafting a title bar. To optimize the user experience, make sure to adjust the design elements like “size” and “Top padding”. Subsequently, introduce various “Text Labels”, “Text Inputs”, and a crucial “Button”.
- Size Configuration: Align the specified ‘size’ parameters with their respective “labels”. Similarly, keep the “Default” property value of the “Text input” blank and adjust the ‘size’ and ‘Left Padding’ for each “Text Input”.
When coding for the SharePoint Currency Column Patch, remember to utilize the ‘PATCH’ method for data transmission. For easy user interaction, always display a success notification post data submission.
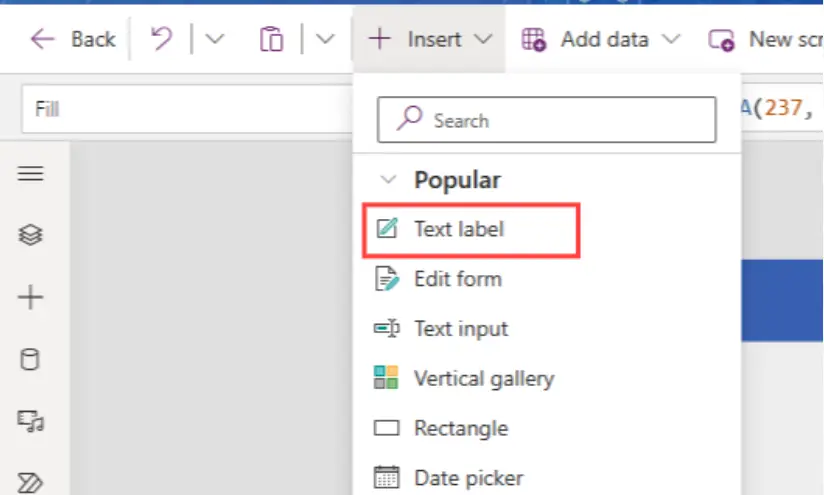

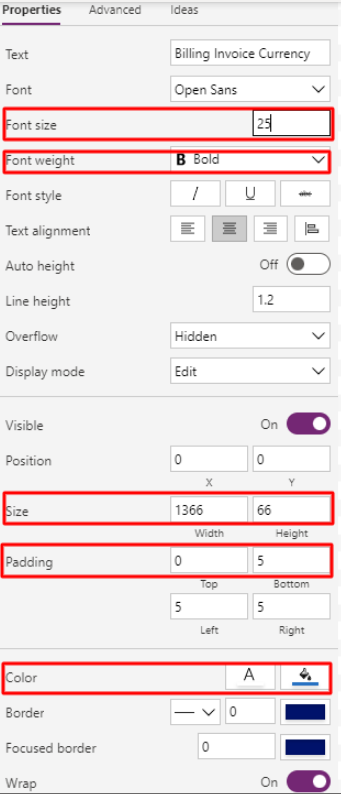
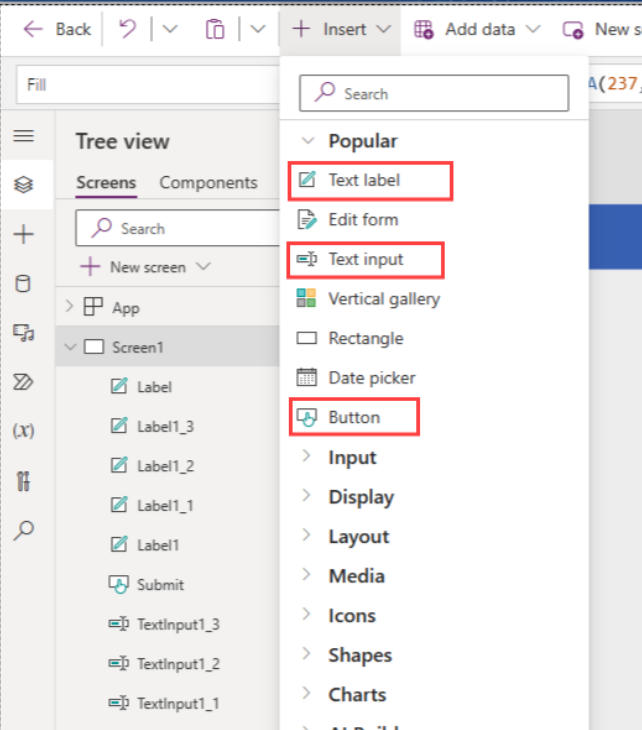
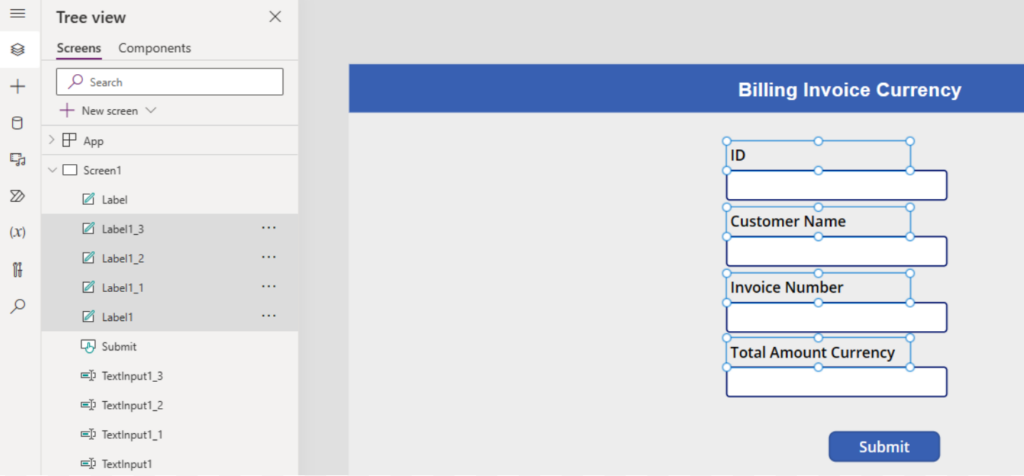
Now integrate the specified ‘size’ parameters into the corresponding “labels”.
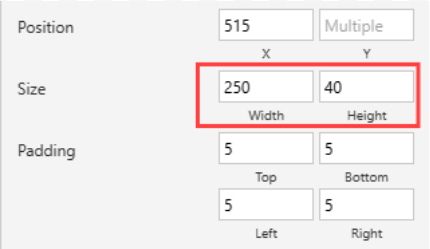
And retain the “Default” property value of the “Text input” as blank.
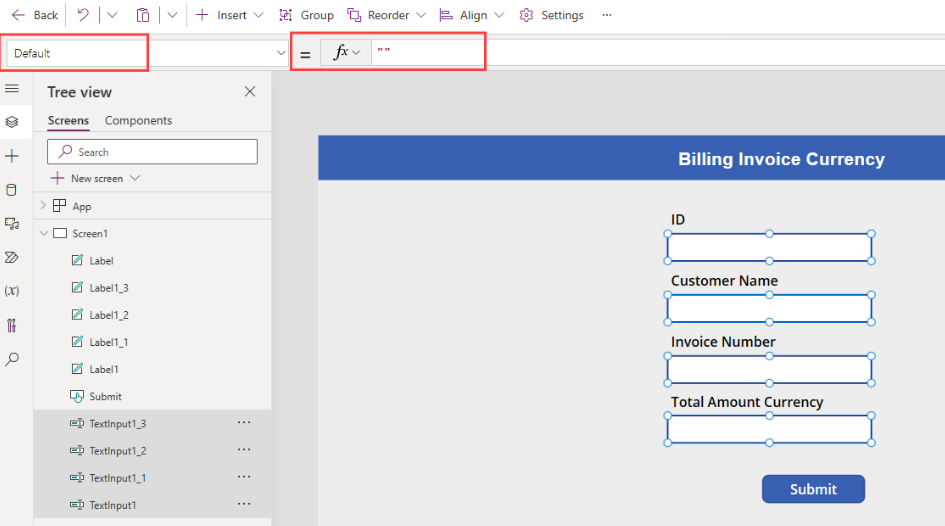
After this ,Integrate the specified ‘size’ and ‘Left Padding’ parameters into the corresponding “Text Input”.

Integrate the specified ‘size’ parameters into the corresponding “Button”.
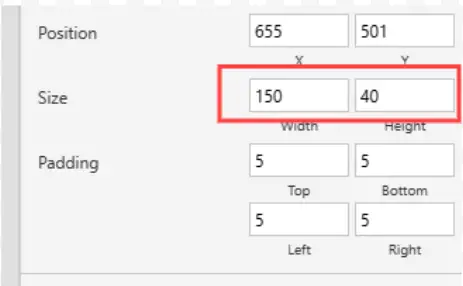
Coding and Concluding SharePoint Currency Column Patch in Power Apps:
Patch Function Usage:
Use the ‘PATCH’ method for data transmission. Enter the provided code snippet in the ‘Button’ interface’s ‘OnSelect‘ property. On data submission, display a success notification.
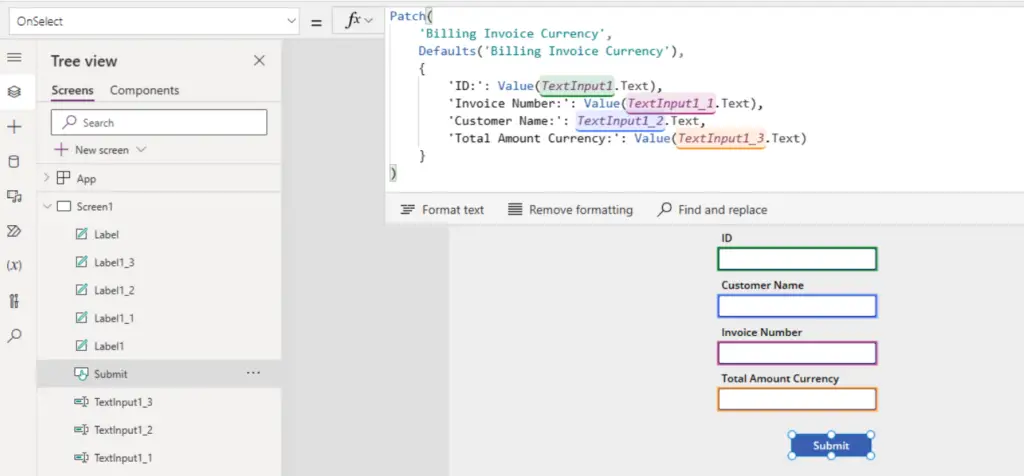
					//Create a new record in the Billing Invoice Currency database
Patch(
    'Billing Invoice Currency',
    Defaults('Billing Invoice Currency'),
    {
        'ID:': Value(TextInput1.Text),
        'Invoice Number:': Value(TextInput1_1.Text),
        'Customer Name:': TextInput1_2.Text,
        'Total Amount Currency:': Value(TextInput1_3.Text)
    }
)
)
Commence a data reset procedure
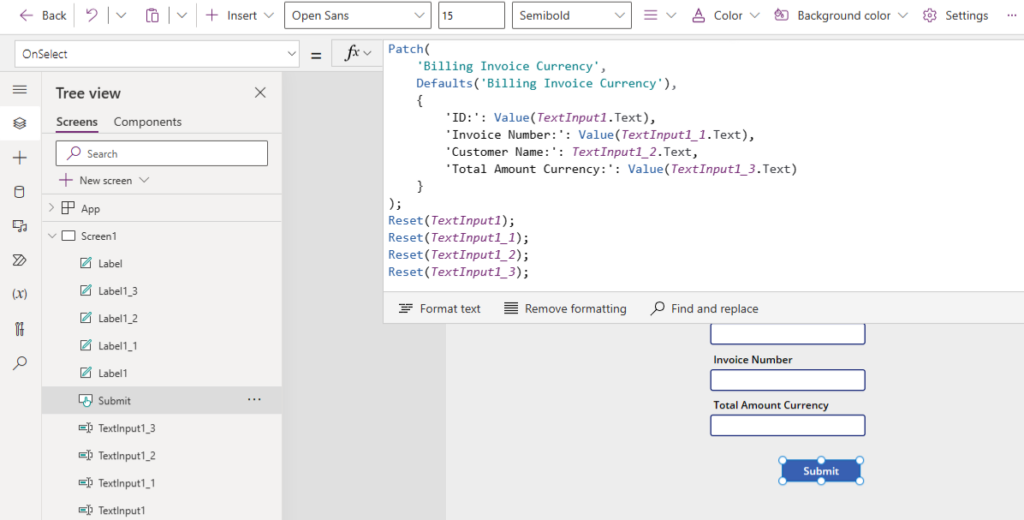
Or Incorporate this specific code into a patch to reset “Text input”.
					//Create a new record in the Billing Invoice Currency database
Patch(
    'Billing Invoice Currency',
    Defaults('Billing Invoice Currency'),
    {
        'ID:': Value(TextInput1.Text),
        'Invoice Number:': Value(TextInput1_1.Text),
        'Customer Name:': TextInput1_2.Text,
        'Total Amount Currency:': Value(TextInput1_3.Text)
    }
);
//To initiate a reset operation for the Text input
Reset(TextInput1);Reset(TextInput1_1);Reset(TextInput1_2);Reset(TextInput1_3);
When you submit your data, please display the Success notification.
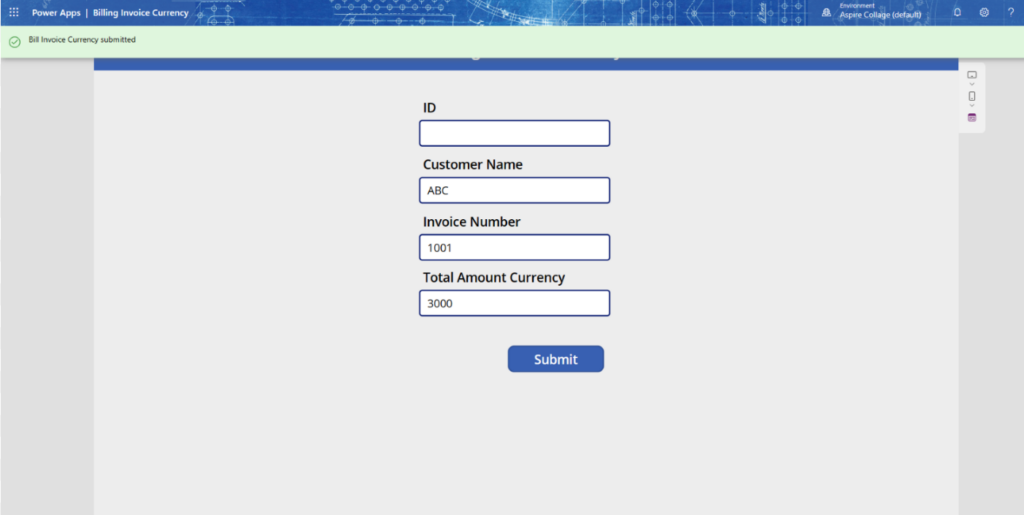
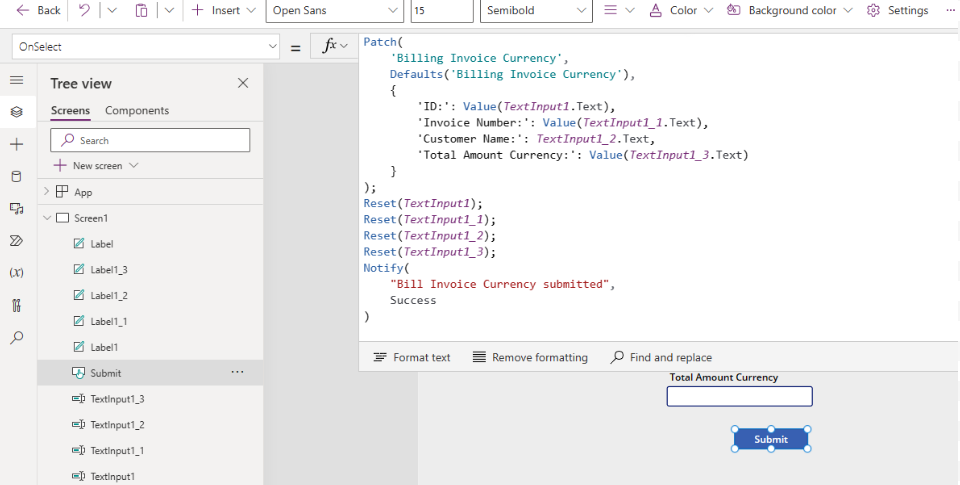
Moreover, Incorporating this code to display a success notification.
					//Create a new record in the Billing Invoice Currency database
Patch(
    'Billing Invoice Currency',
    Defaults('Billing Invoice Currency'),
    {
        'ID:': Value(TextInput1.Text),
        'Invoice Number:': Value(TextInput1_1.Text),
        'Customer Name:': TextInput1_2.Text,
        'Total Amount Currency:': Value(TextInput1_3.Text)
    }
);
//To initiate a reset operation for the Text input
Reset(TextInput1);Reset(TextInput1_1);Reset(TextInput1_2);Reset(TextInput1_3);
//To initate Success Notification
Notify(
    "Bill Invoice Currency submitted",
    NotificationType.Success
)
Reference: Patch function in Power Apps
The Conclusive Appearance of this Application
Conclusion:
Leveraging the SharePoint Currency Column Patch in Power Apps profoundly transforms SharePoint data management. With this guide, you’re well-equipped to undertake a flawless update process, assuring unparalleled data precision and improved SharePoint functionality.

